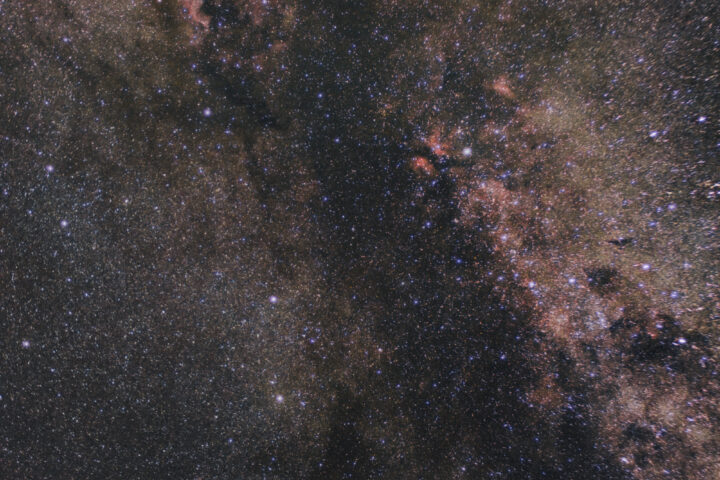
I’ve never deepened the topic of wide-field Milky Way imaging, as most of the time my view towards the South is blocked by light pollution. However, I’ve recently been to my grandparents’ house, and it was in this occasion that I could, for the first time, take some good photos of our galaxy.
It all started when I decided to take a test shot from a balcony, with street lights shining directly on the camera lens. No need to say that my expectations were low, but when I saw what my camera could capture, I decided to find a better location to image from.
Location
The following day, I opened a light pollution map and started browsing for nearby dark spots. I eventually found a small beach. Looking South, there would have been around 25 km of sea before the first artificial lights could interfere with my images. I was also pleasantly surprised when I got there, as the sand was very thick so there was little risk of damaging my gear.
Equipment
The equipment I brought to the beach with me is:
– Olympus Pen F;
– Olympus 12-40mm f/2.8 lens;
– Canon 50mm f/1.4 with Viltrox .71x adapter;
– Tripod;
– Shutter release cable;
– A towel to protect everything from sand.
Capture
I set up my tripod, let it stabilize on the sand and, after getting the framing sorted, I turned on the internal intervalometer and let the camera do its job. Darks were shot in cloudy moments, while bias and flat frames were shot at home.

Exposure times were limited to avoid star trailing and the number of images was limited by incoming clouds.
Processing
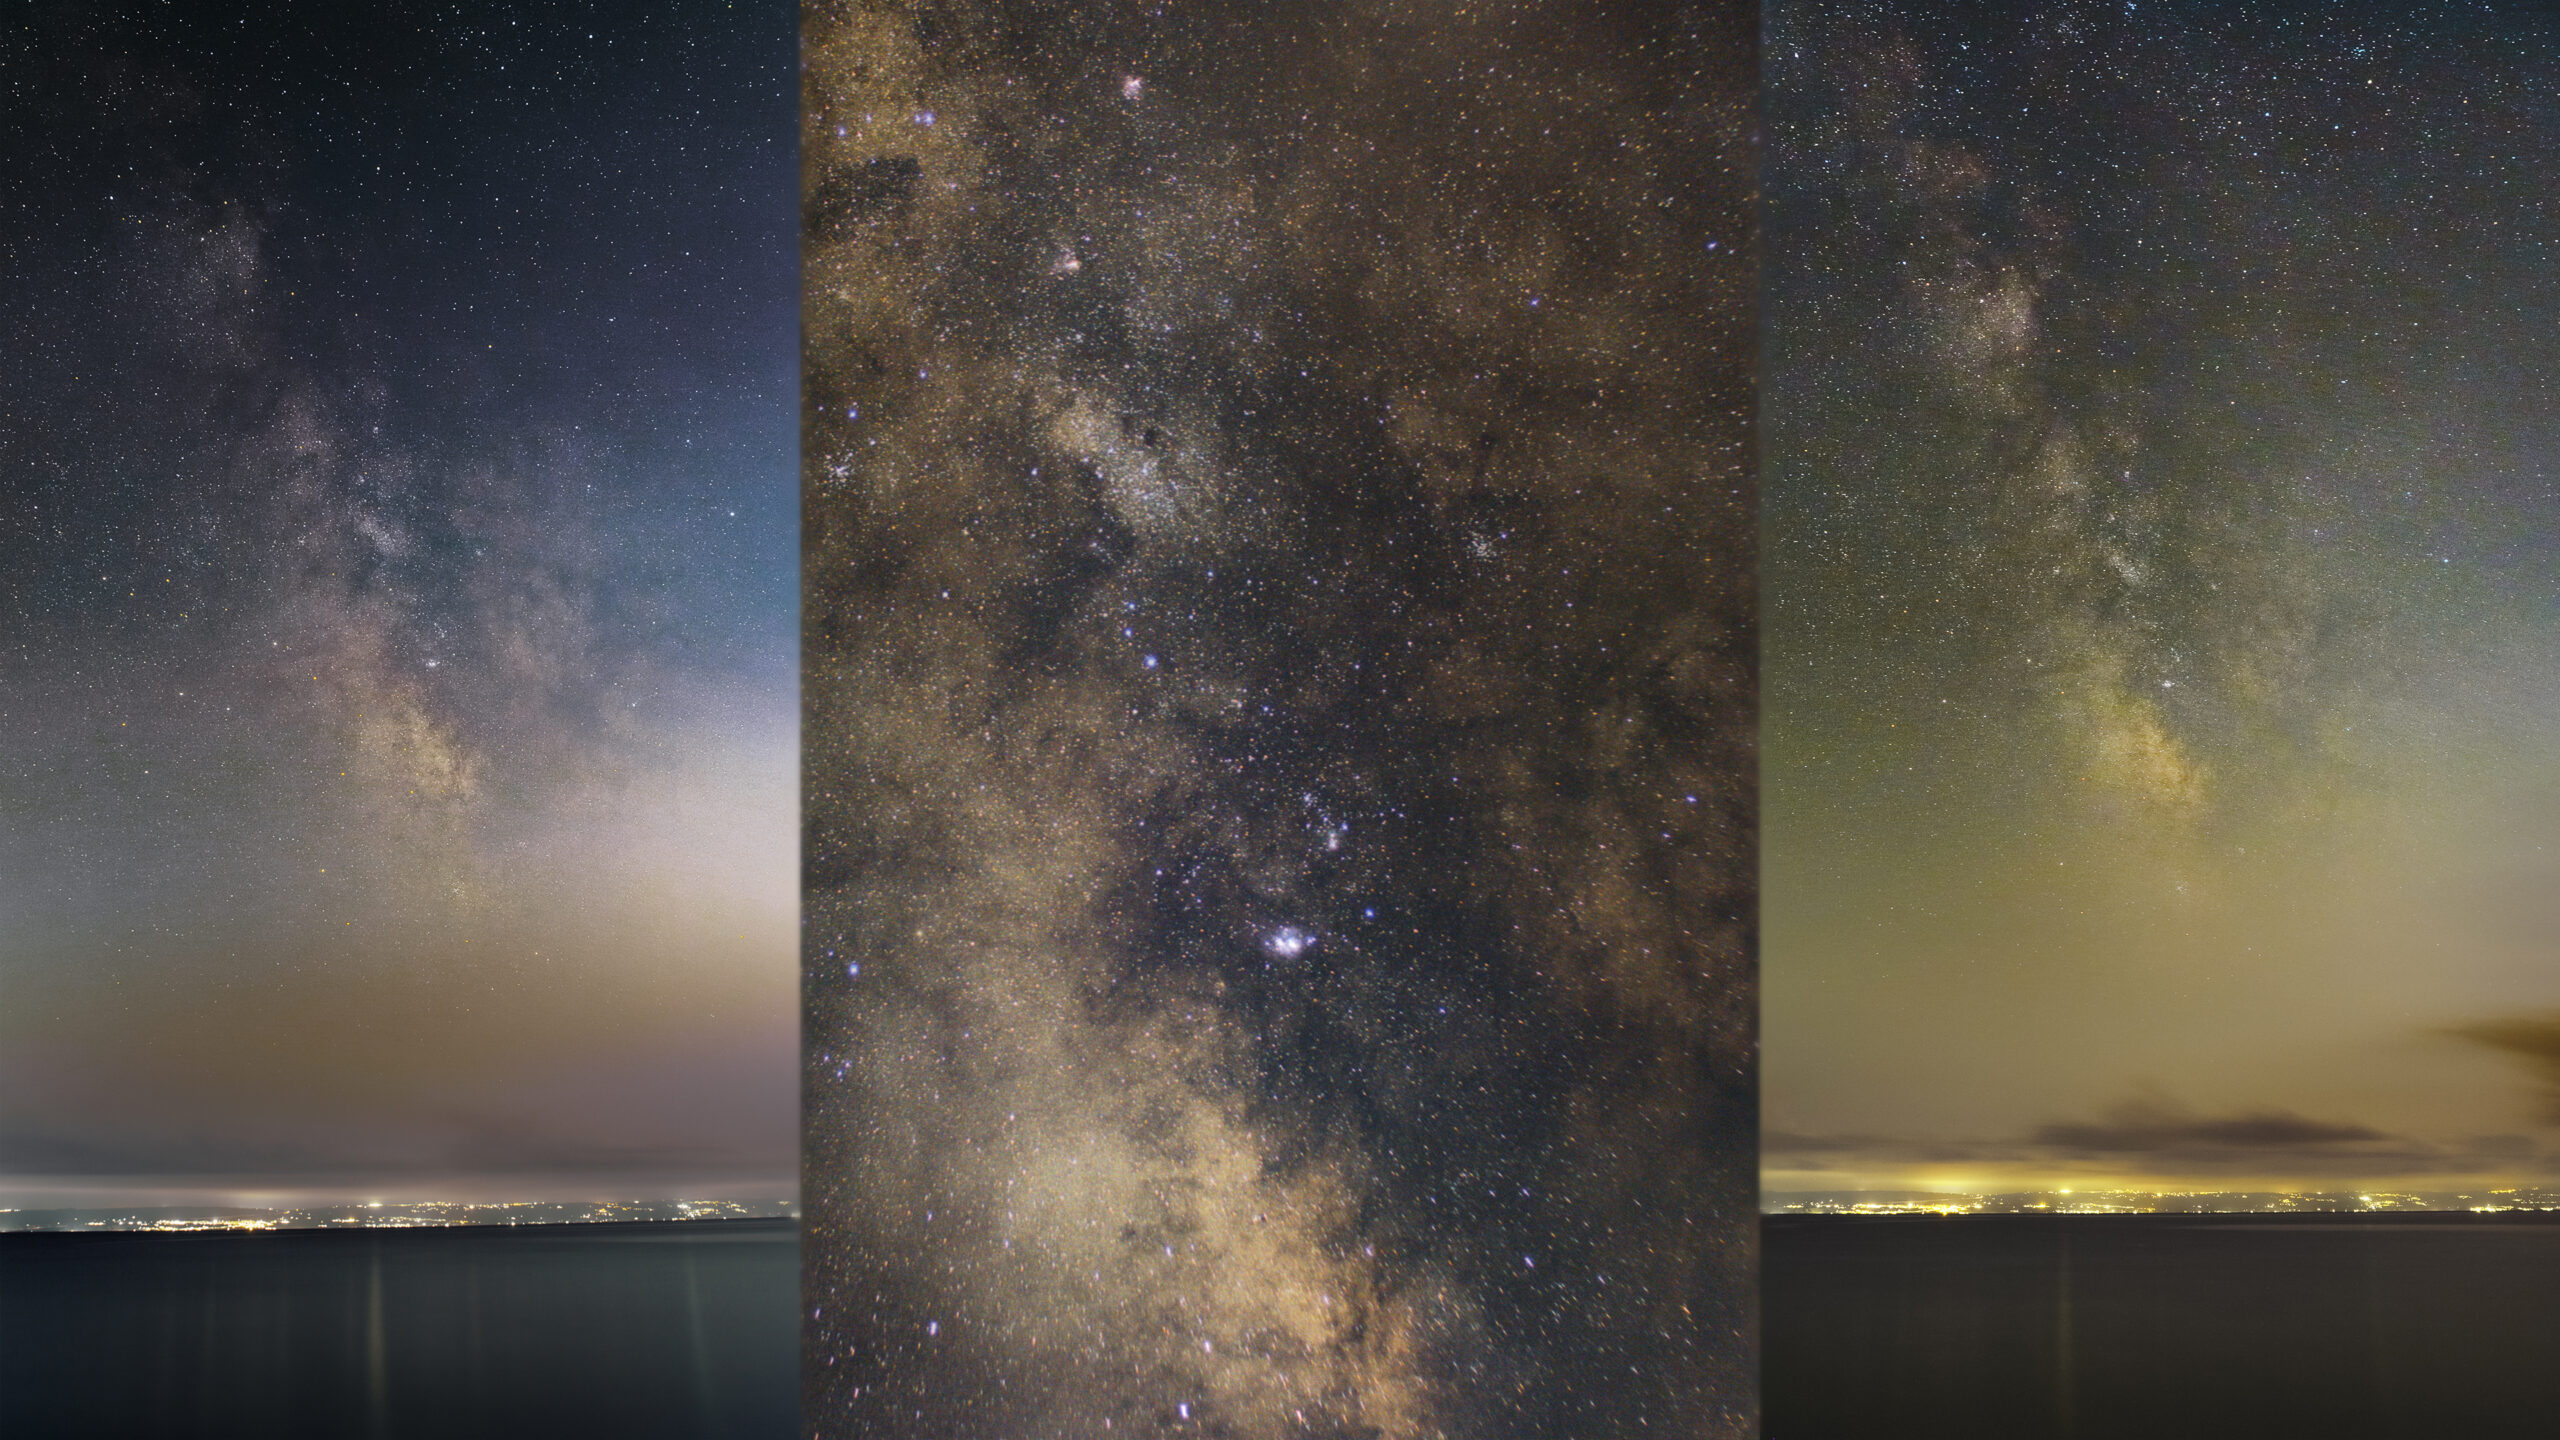
While stacking and editing the images from the Canon lens was straightforward, the images shot at 12mm required a bit more work. DeepSkyStacker used the foreground lights as alignment stars, so I ended up cropping all the images, including calibration frames, to only include the sky part of the image.
After separately stacking the sky and the land, I combined them in Photoshop and tried my best to reveal the Milky Way while still obtaining a natural look.
While I’m very impressed with the f/1.2 images, I was not too satisfied with the 10s exposures. I expected the signal to be stronger, considering that I stacked 100 images. Even just eight 20s exposures lead to a better result, but here star trailing becomes noticeable. Also, the images were affected by bad sky transparency near the horizon.

Conclusion
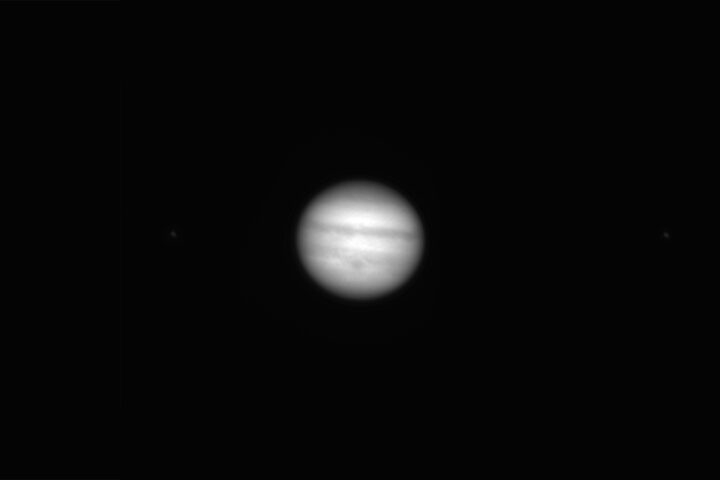
Shooting this images was a great learning experience, as it was the first time I included land in one of my astrophotos and these are also my first satisfactory untracked deep sky images.