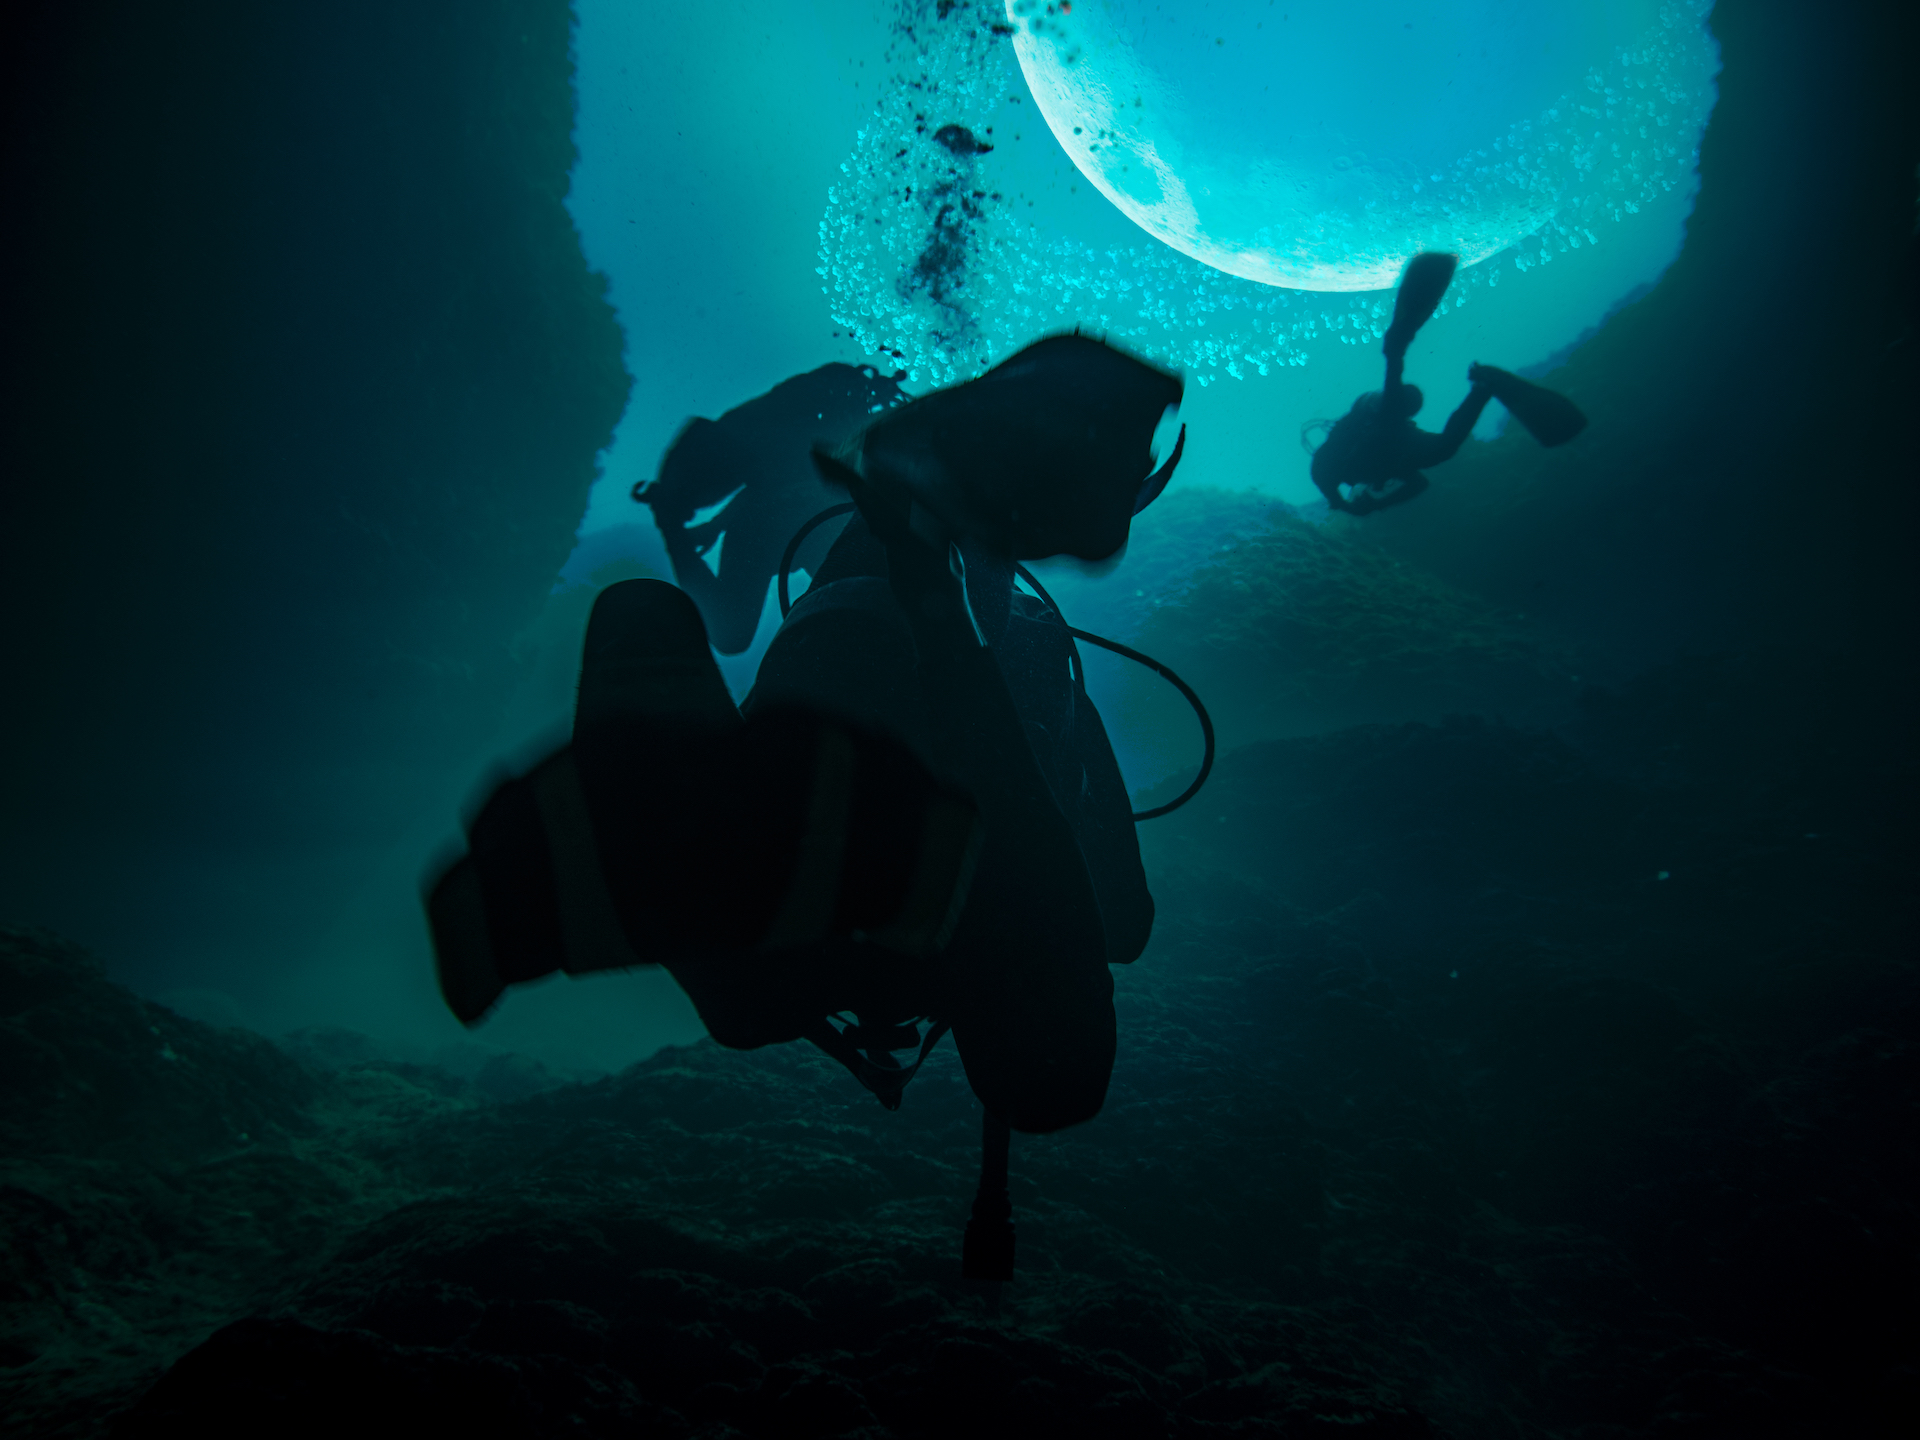
One day I was reviewing my photos to make an album for my Chromecast and I found a picture taken at Cave “delle Corvine”. I was inspired by the extraterrestrial look of the image and decided to make this composite.
The moon in the sea
I started by searching for another picture to combine with the underwater image. Since I’m an amateur astrophotographer, I went for a photo of the Moon taken with my telescope.
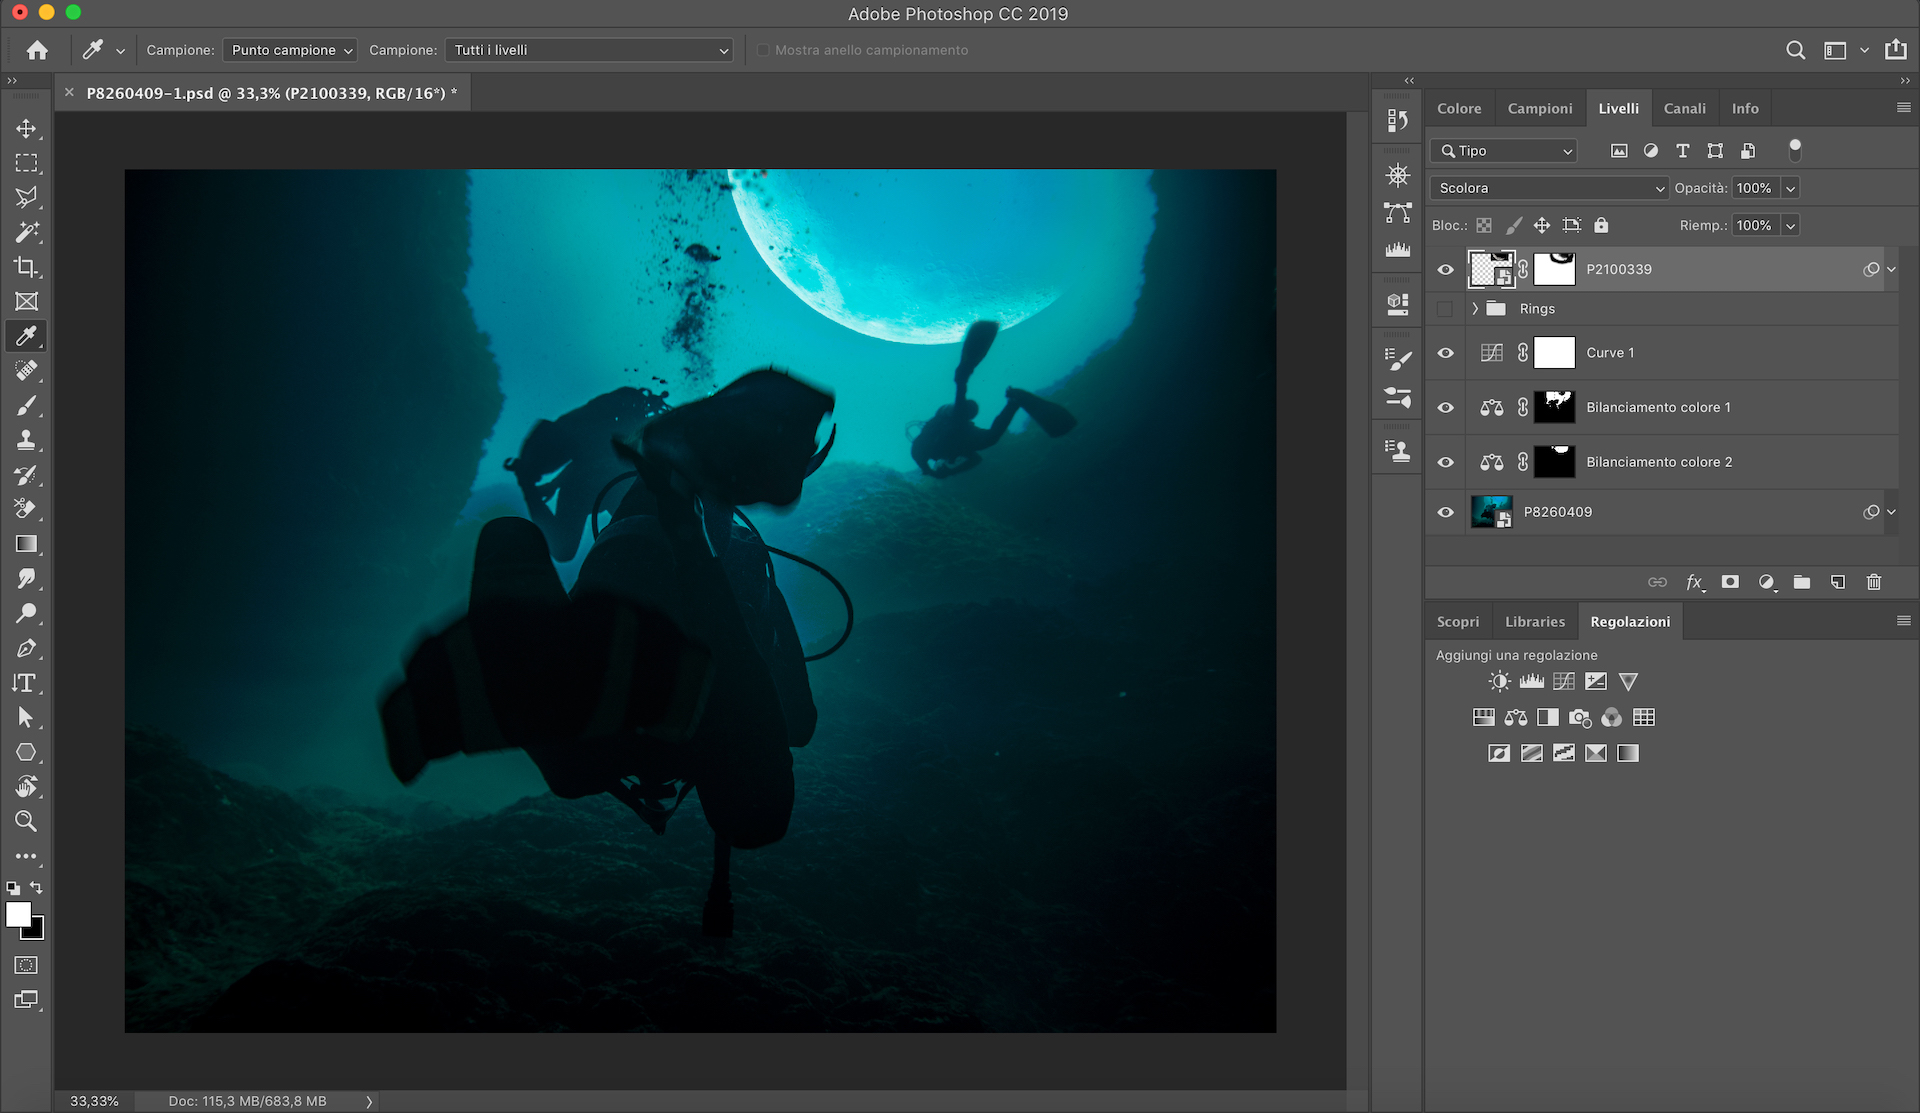
I then opened both images in Photoshop to start creating the composite. I was very lucky because the screen blend method automatically removed the black part of the picture of the Moon and adjusted its color, making it match almost perfectly the blue hue of the seawater.
I also used a layer mask to delete the parts of the Moon covered by divers or bubbles.
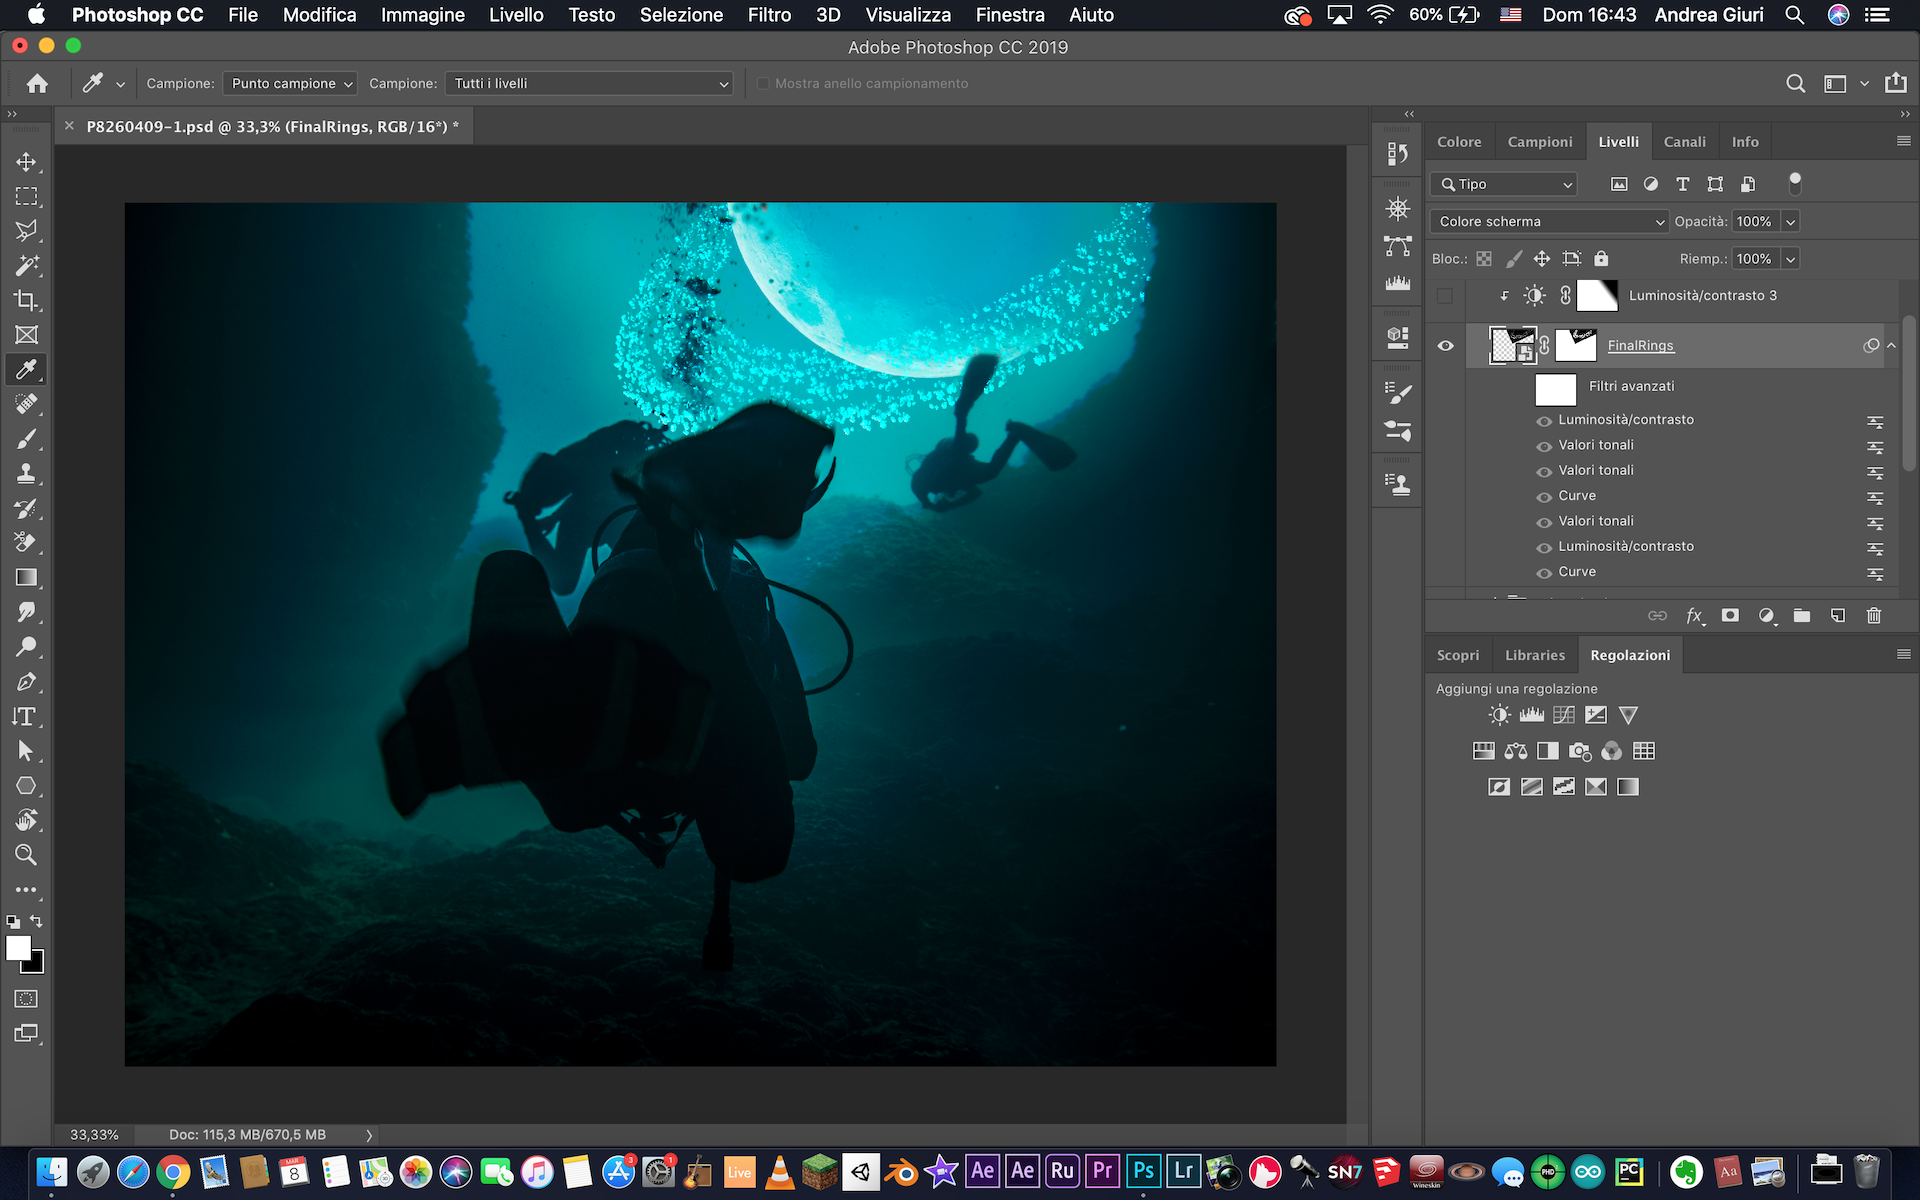
After applying a curves adjustment and two color balance layers, the composite looked like this.
The rings – modelling
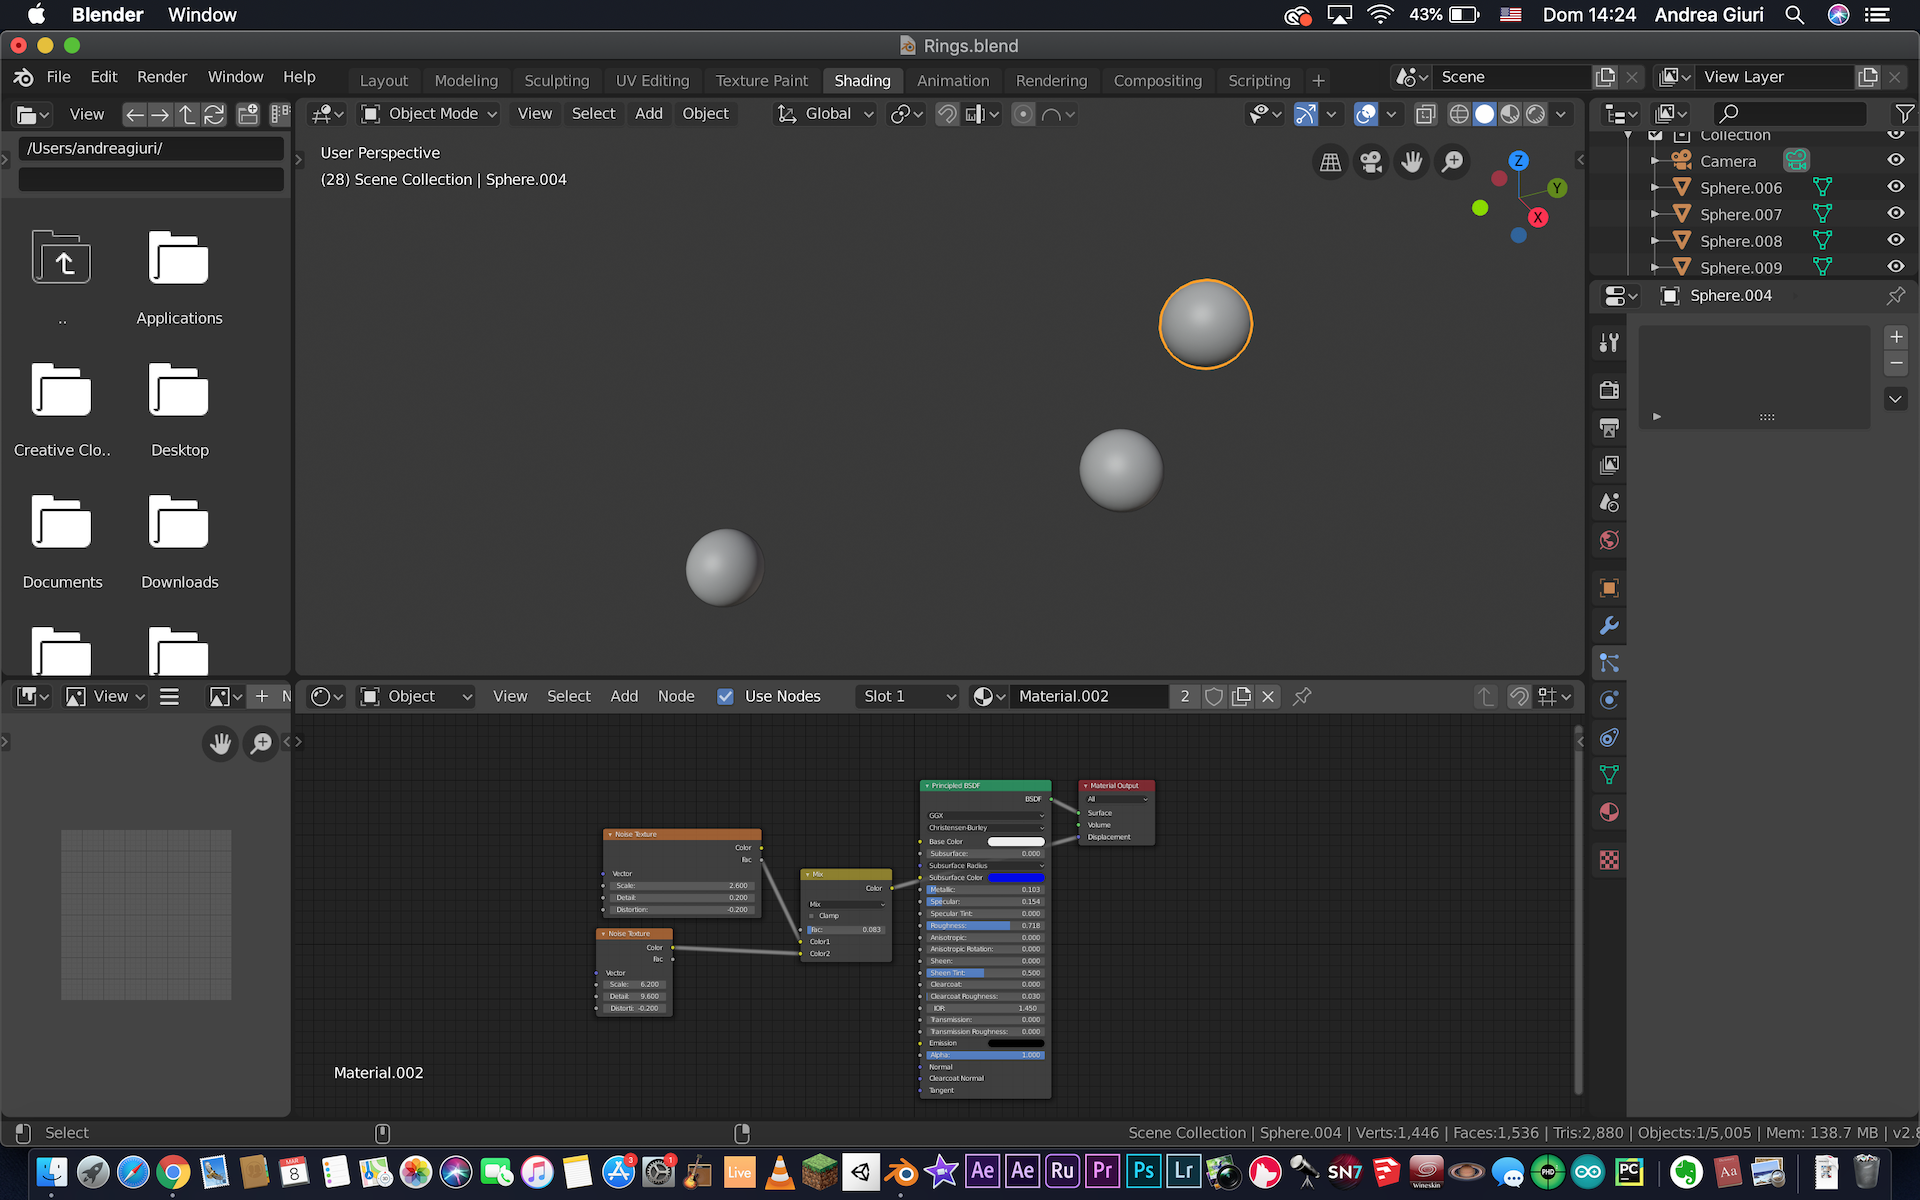
I still wasn’t satisfied by the result, so I decided to add some rings to make the composite even more UNrealistic I decided to add rings to the composite. I used Blender to make them.
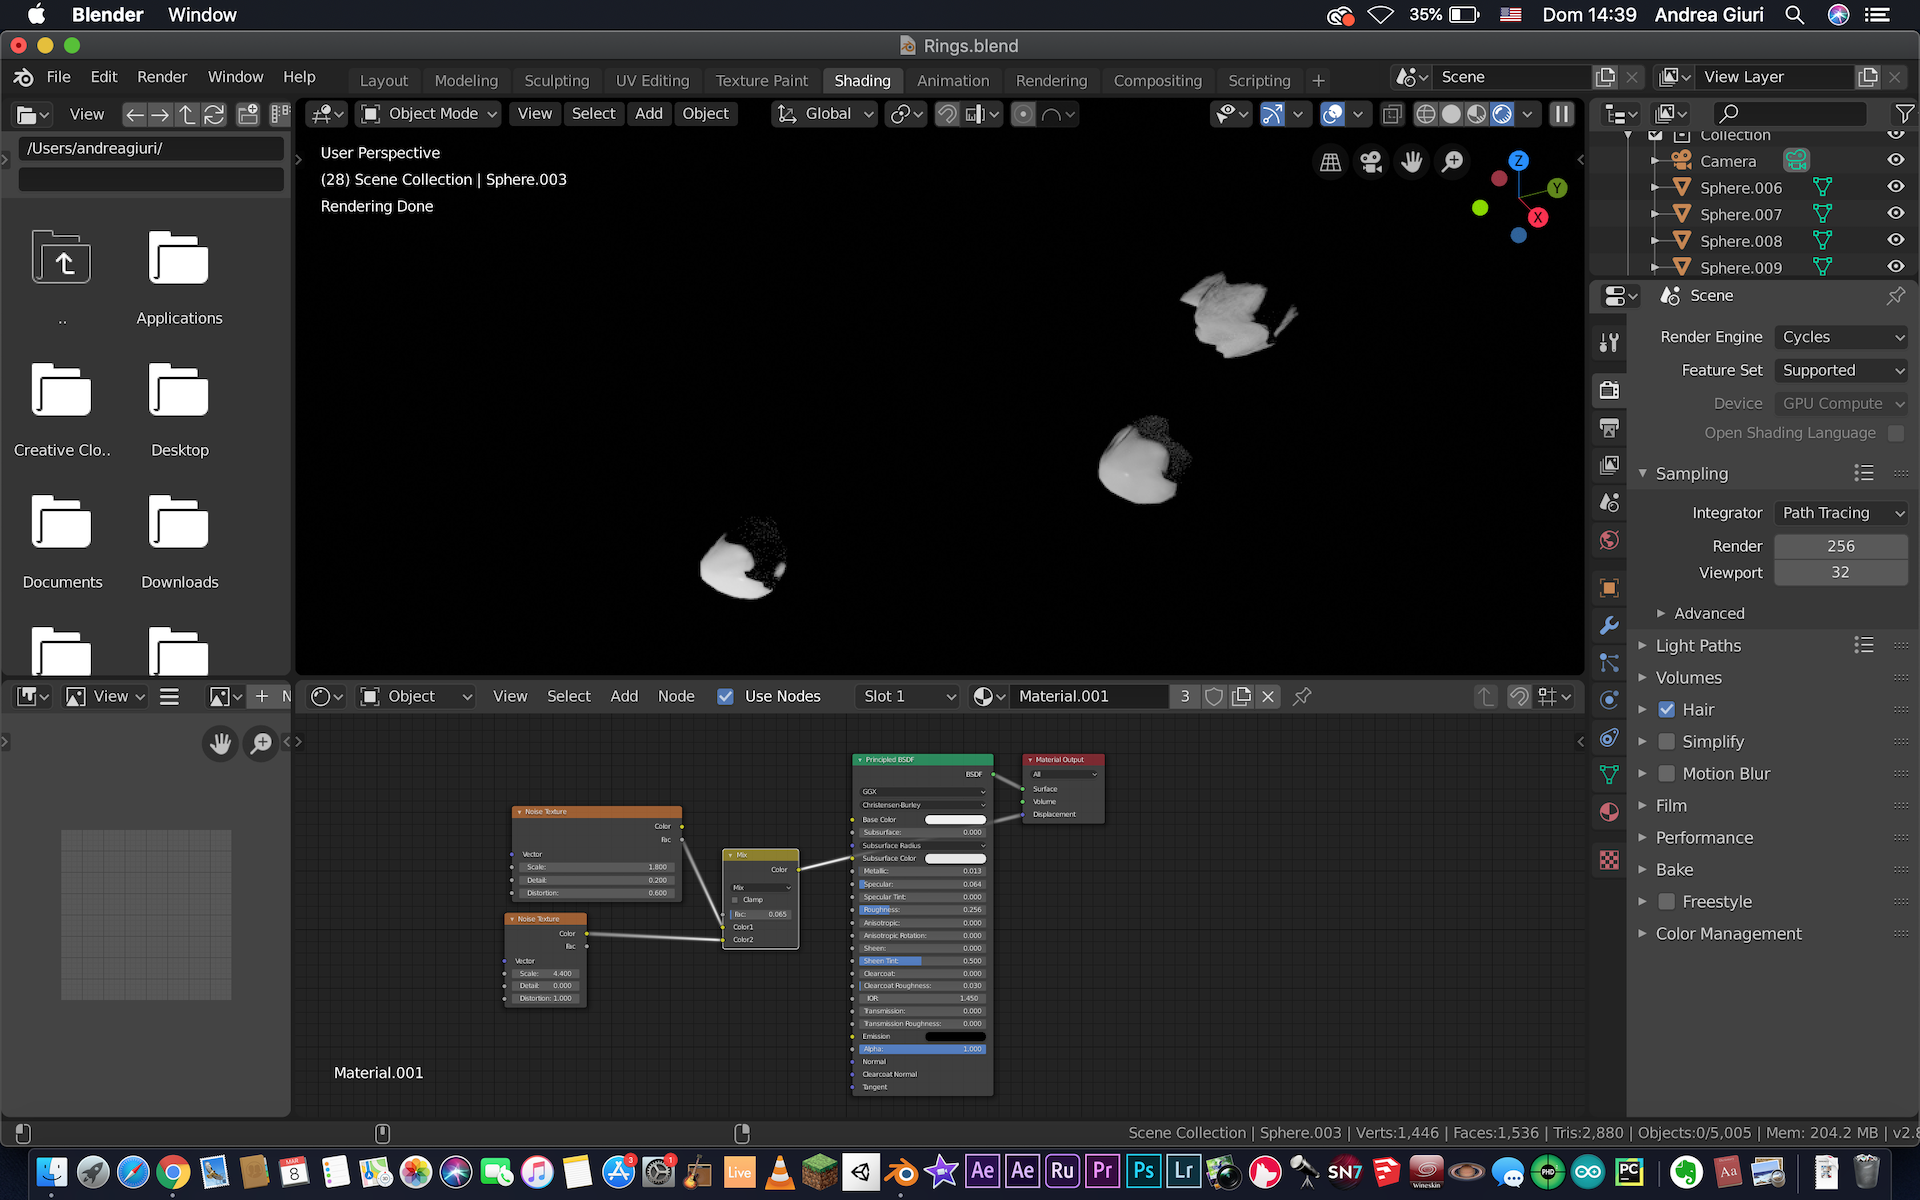
First of all, I added three spheres to the project. To give them the shape of asteroids, I combined two noise textures with a MixRgb node and used the output for the displacement of the material. By tweaking the values of the various materials, I ended up having three different asteroids. Here there is a photo of the asteroids in solid view and one rendered view. In solid view the material is not taken into account, so the displacement is not visible.
After that, I created 2d rings and applied a particle system, which made 5000 copies of the three asteroids, all with random rotation and scale.
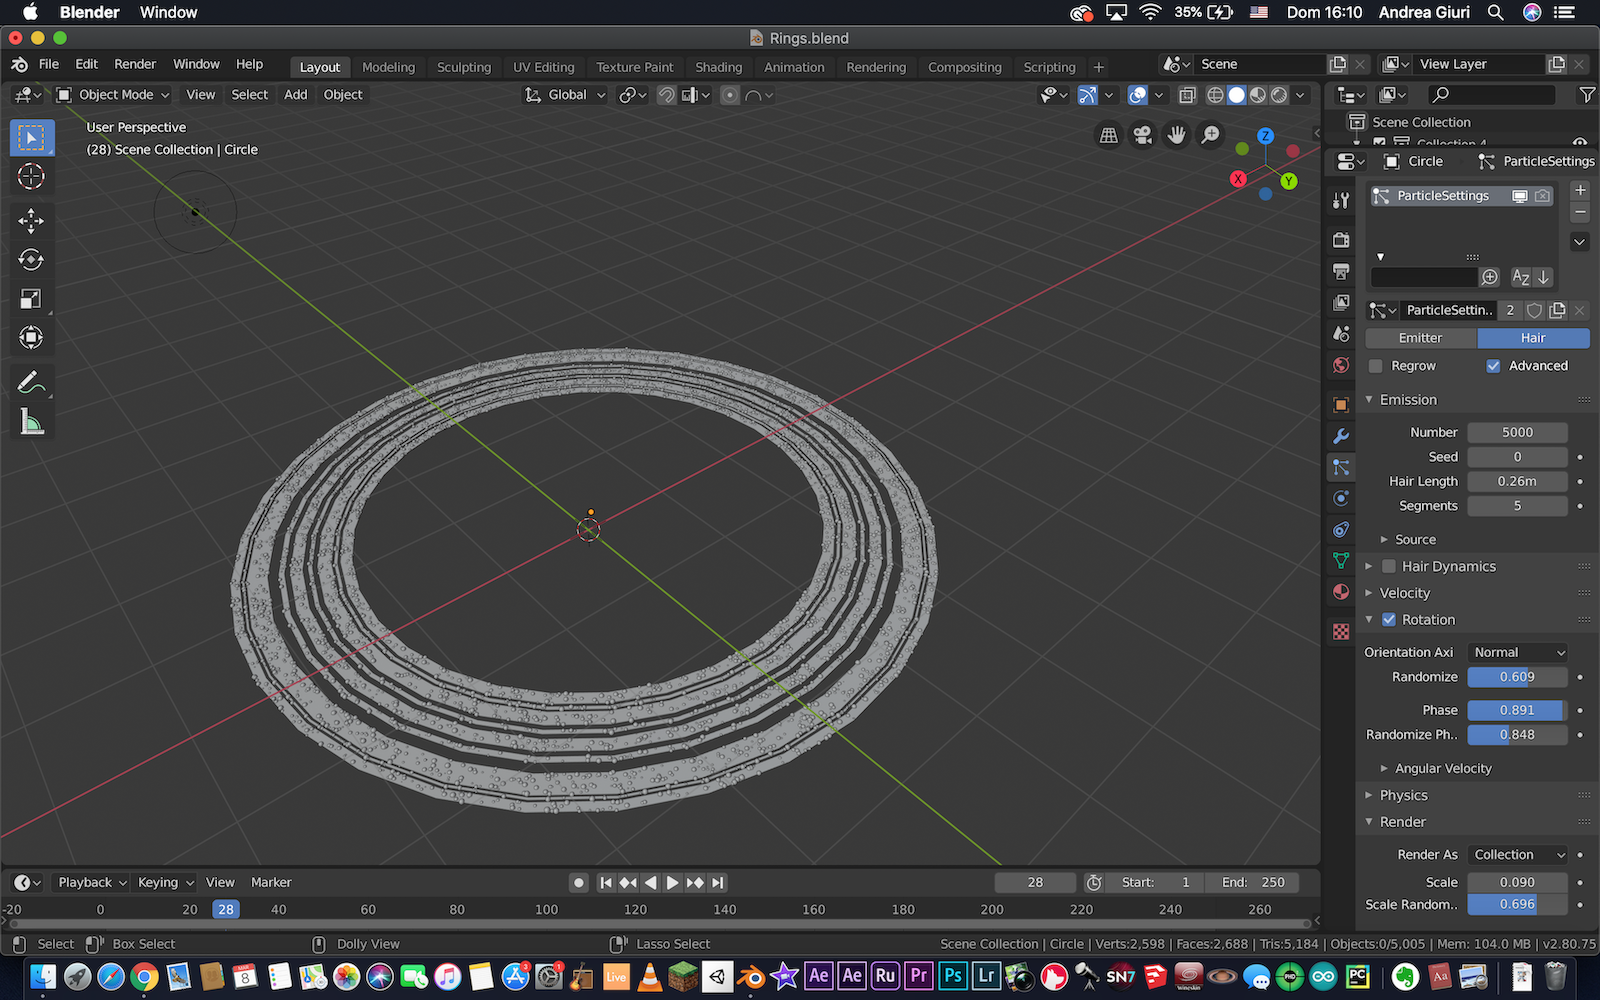
Although in solid view everything looked fine, during the render something strange happened. The render looked like this.
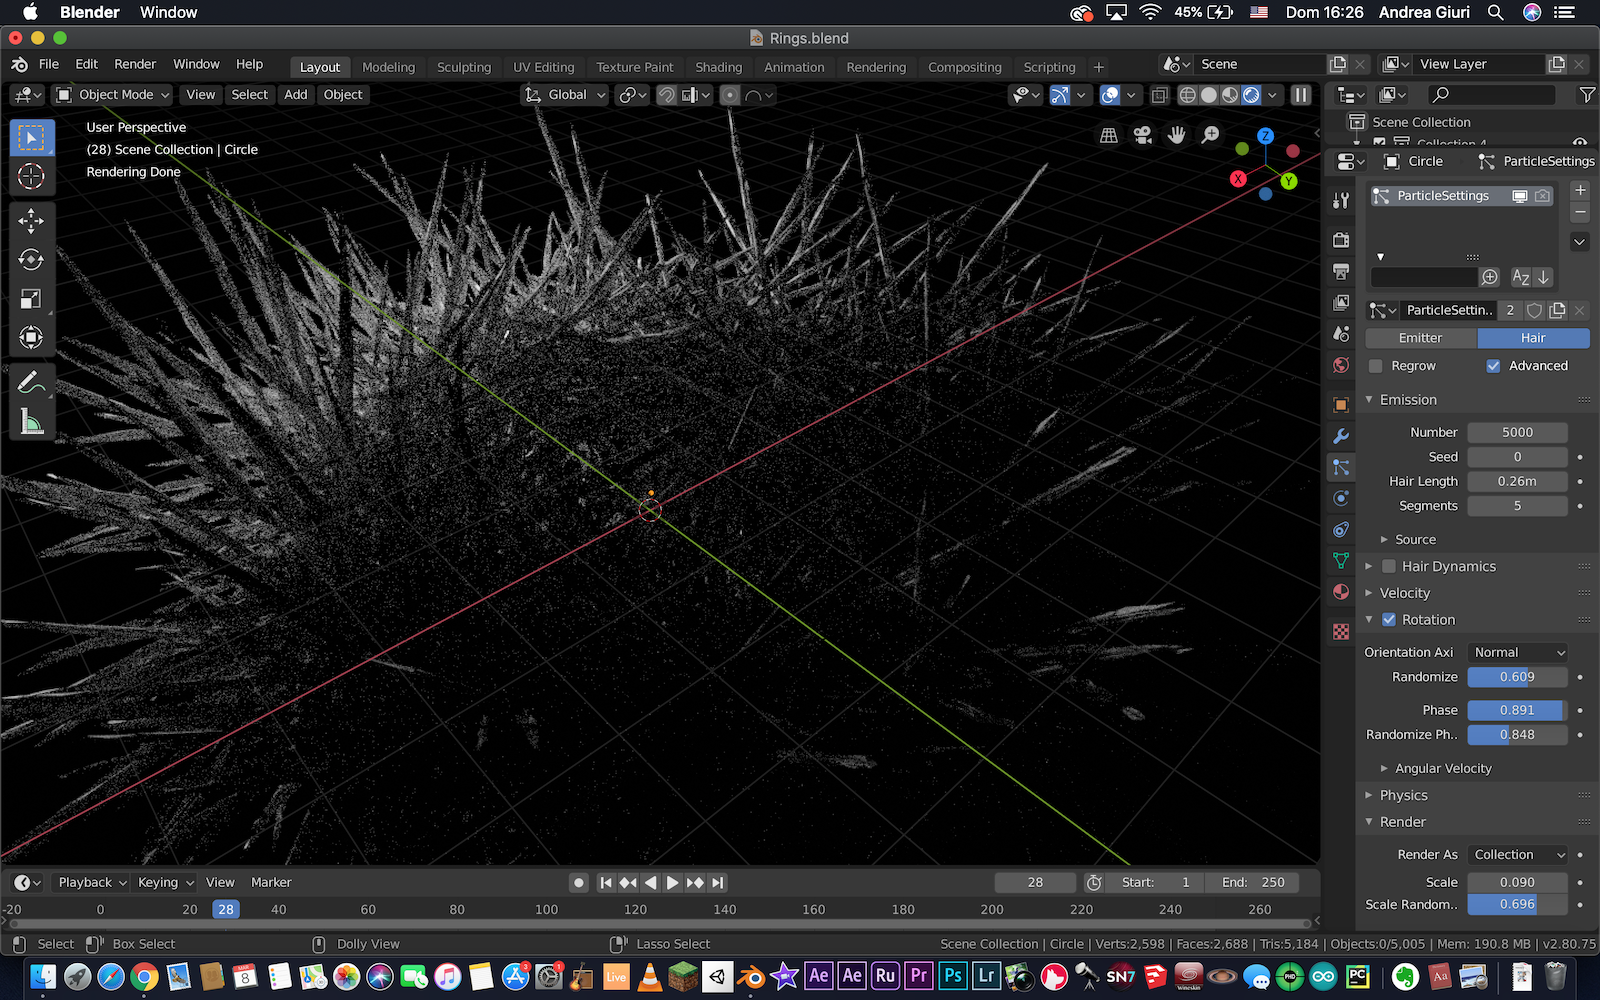
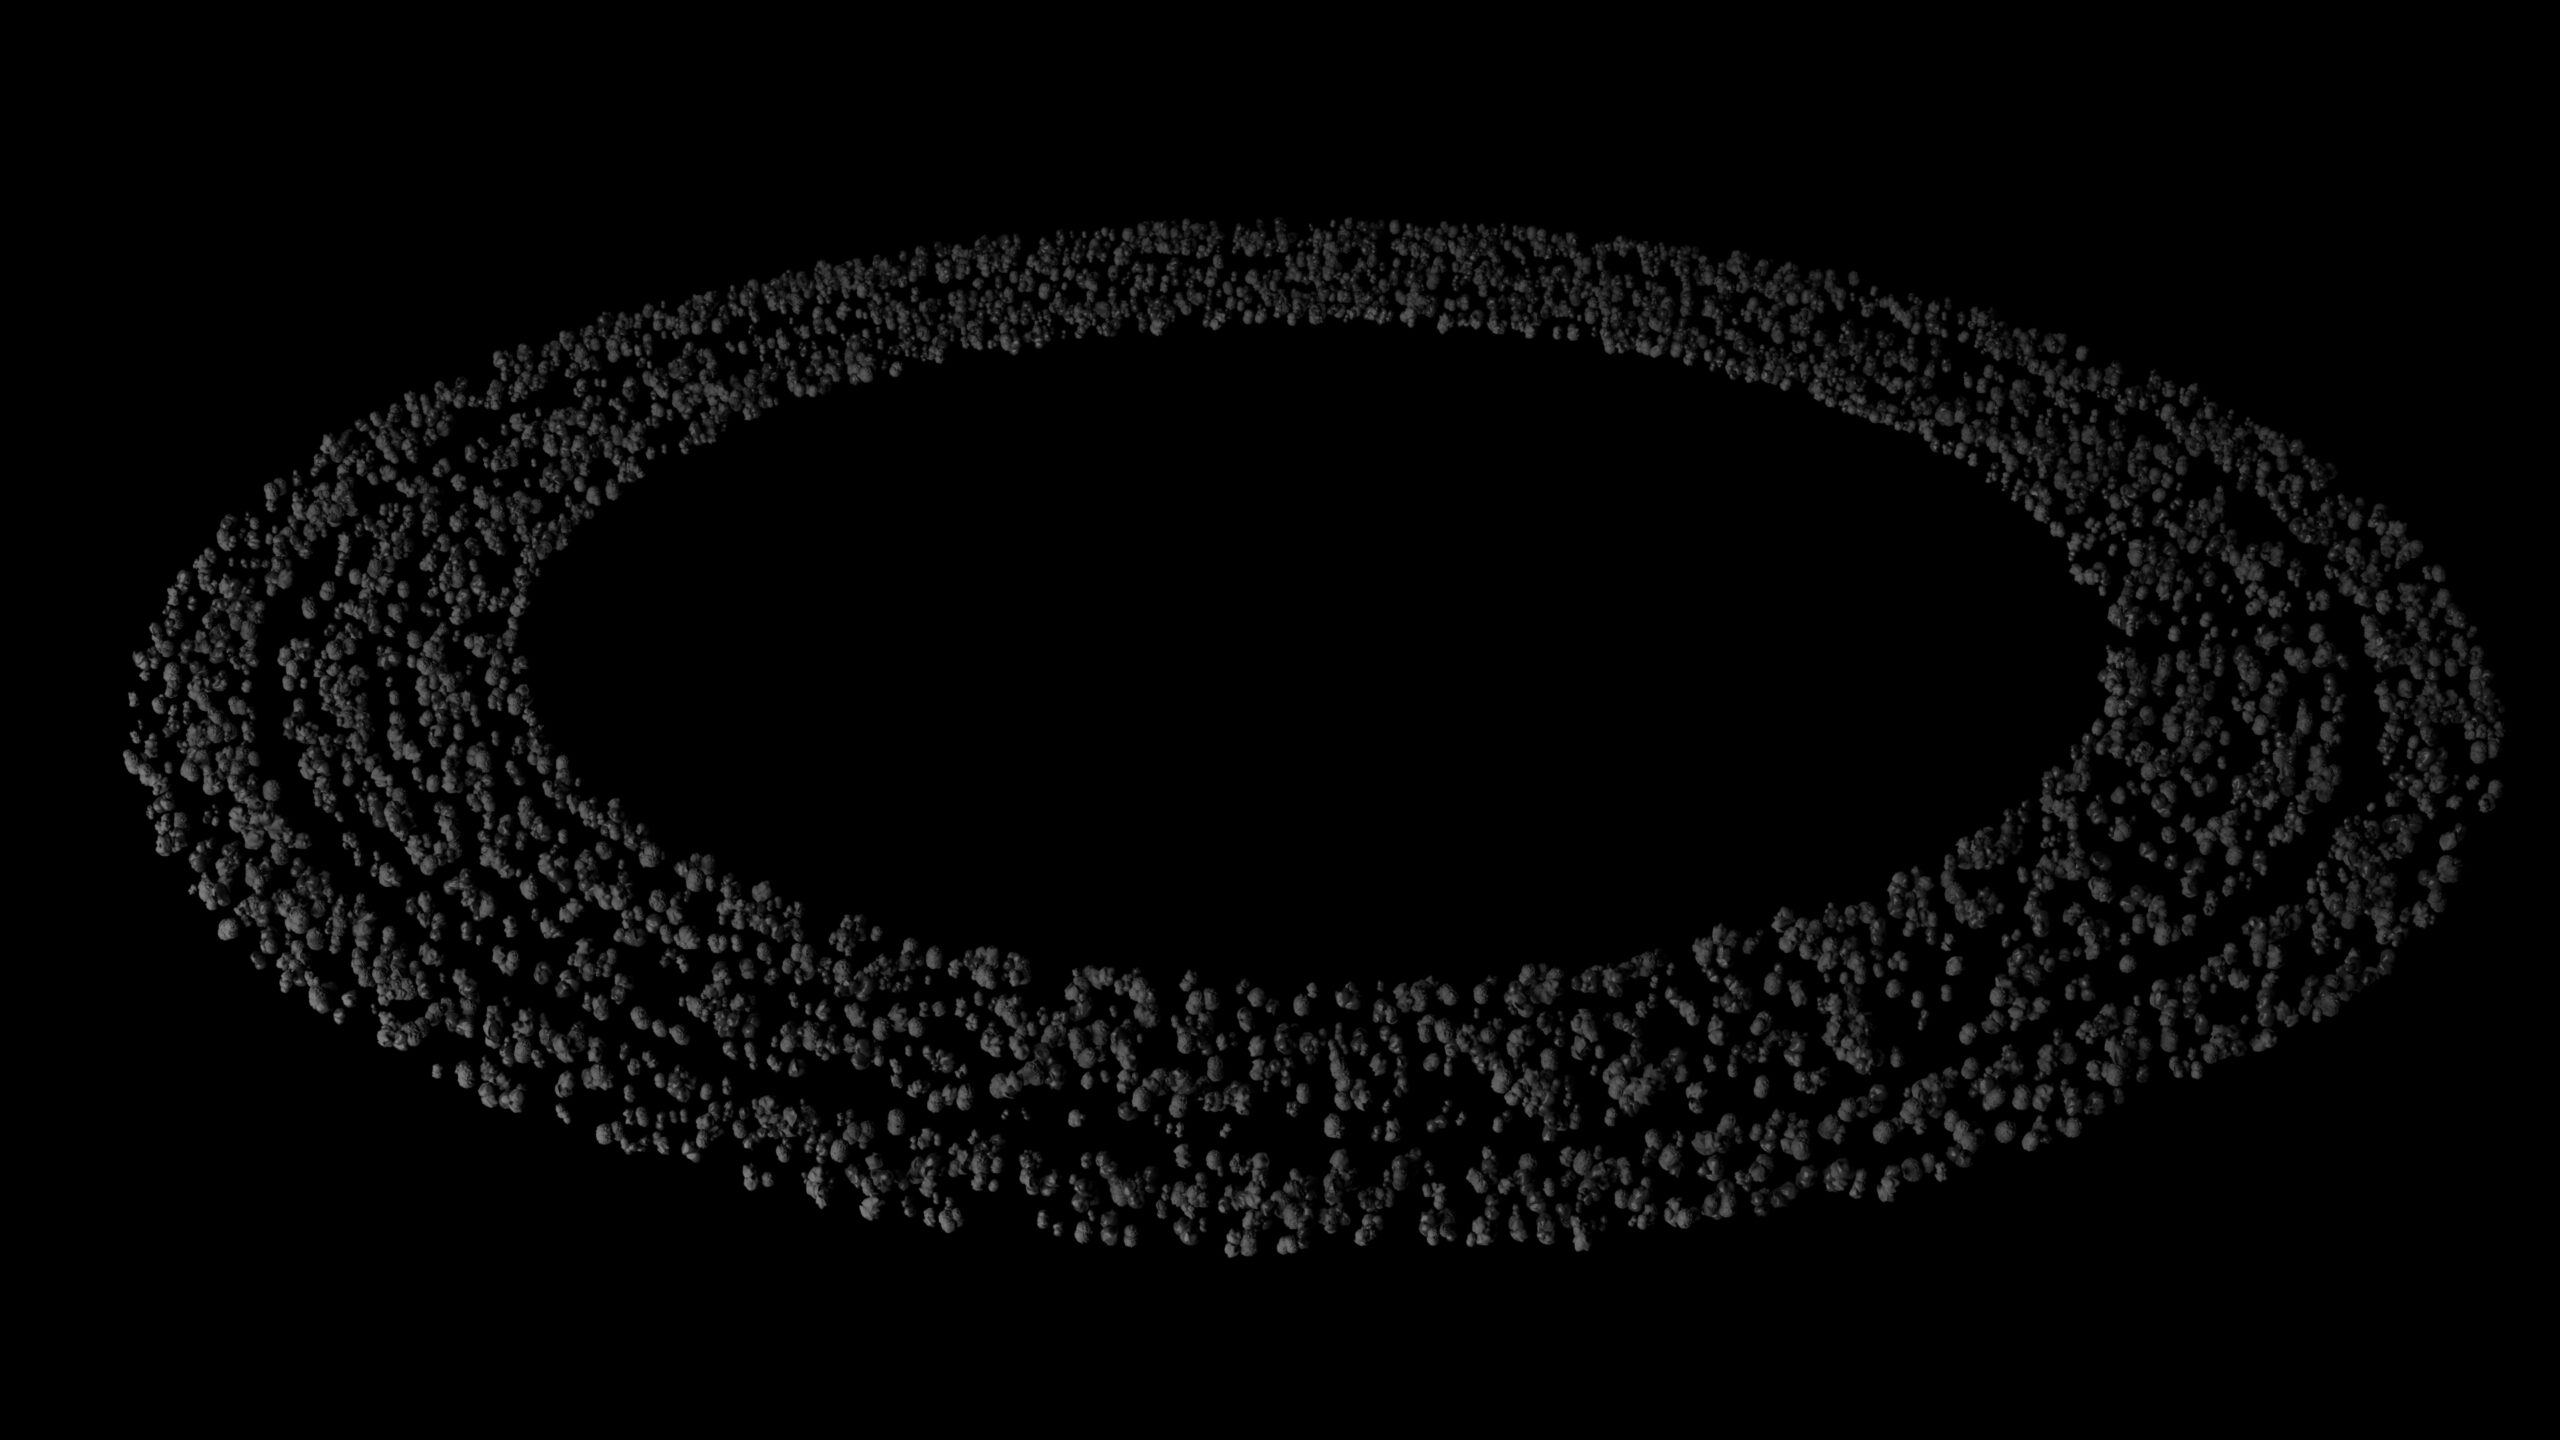
Somehow the asteroids became spikes. I therefore decided to go in the modifiers tab and convert the particle system: this means that the 5000 copies of the 3 asteroids were transformed in separate objects.
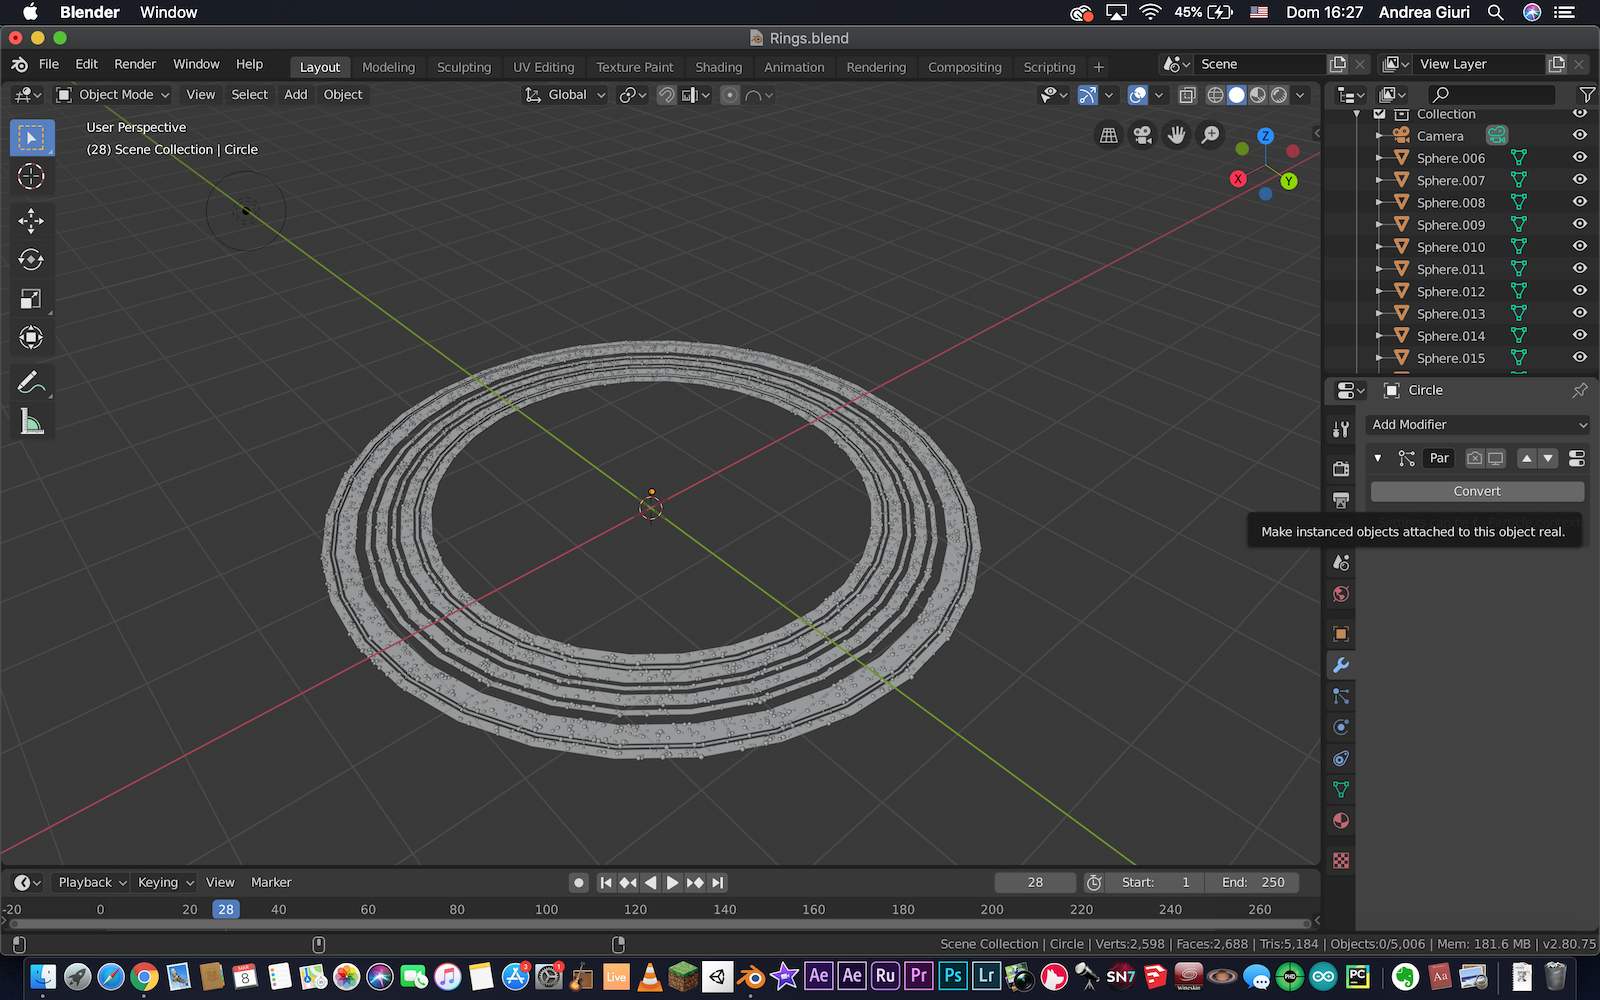
This fixed the issue and the final render looked like this.
Now back to Photoshop.
The rings – the composite
This time, i had to do more than just choosing the blend method. First of all, I masked out all the black parts the render using a mask and the Magic Wand tool. Then I used the color dodge blend method.
The rings now are overexposed, but with a bunch of filters, the image is ready to be exported!