Ok, I must admit I haven’t posted in a while. Aside from my mount breaking down, I’ve been quite busy with the various Science Olympiads, wrapping up High School, and most importantly, university applications. After countless essays and a few interviews, the results arrived: I have been accepted into Stanford’s Class of 2028, and I’m thrilled to embark on this new journey!
After this incredible news, I went on to participate in my last competitions, winning the national Physics Olympiad, competing (quite unexpectedly) in the national Chemistry one, and making memories with my team “degX” at the crazy national Maths team competition. And now, after taking the Italian leaving examination, I’m free to completely wreck my sleep schedule and take some photos of deep space!
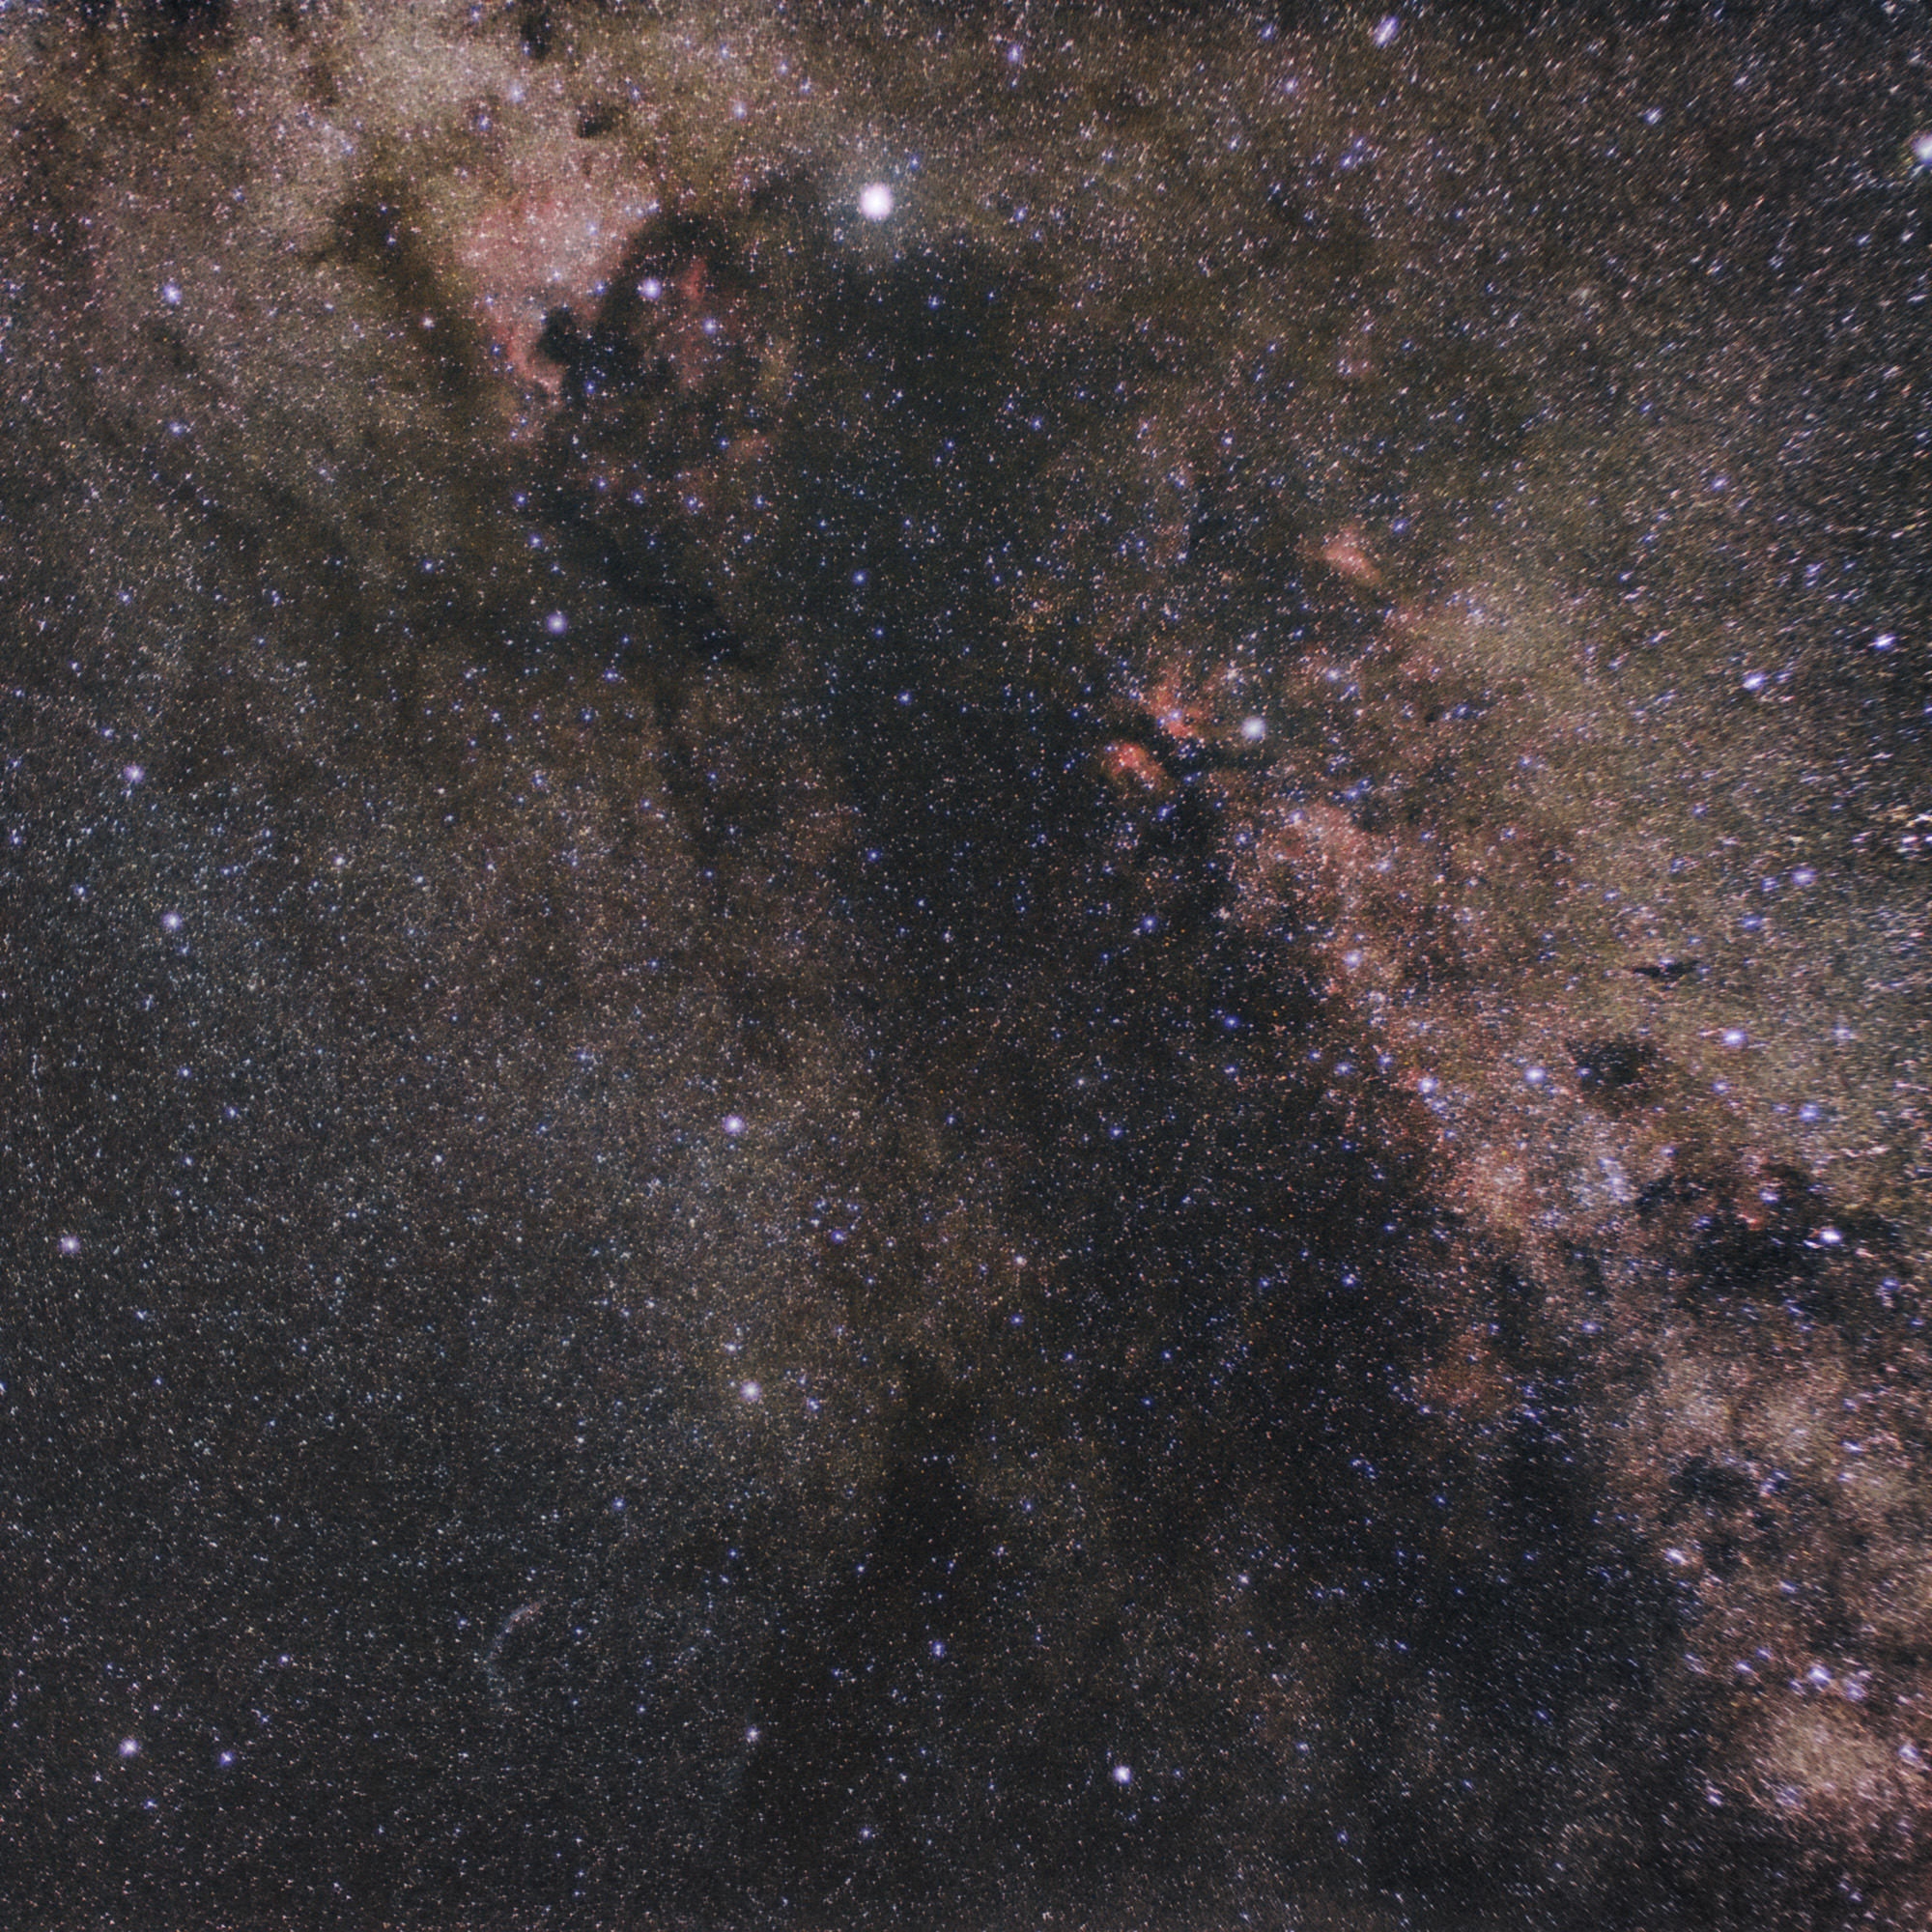
I opened the season with a wide-field shot of the Cygnus constellation. The golden Milky Way band dominates the image, stretching diagonally through the frame and gently fading into the deep, dark sky in the bottom-left corner. Within it are the emission nebulae, whose hydrogen gas is excited by the extreme temperatures and shines in a deep red hue. The North America and Pelican nebulae are clearly distinguishable in the top-left corner, while further down is an emission area near the star Sadr. Looking closely, you may also see a hint of the Veil nebula at the bottom of the image.
OPTICS: Canon 50mm f/1.4 + .71x speed booster (36mm f/1.0)
CAMERA: Olympus Pen-F
MOUNT: SkyWatcher EQ3 Pro Synscan
SETTINGS: 83*60s @36mm f/1.4 ISO200
CALIBRATION: dark and flat frames
Acquisition
Since this was the first astrophoto in a while, I decided to go easy on myself and shoot wide-field with a super-fast lens. This meant light equipment, quick polar alignment and setup times, no guiding, no dithering, and no need for a computer. It was also the first image taken after fixing the mount, and I’m satisfied with how it performed. I’ll soon do a test with the actual telescope.
I opted for 60s exposures as they were the longest that my camera supports natively and, at f/1.4, they were long enough to use the lowest ISO setting available. Note that, even though I could’ve set the lens to f/1.0 and captured more light, it would have seriously affected the star shapes (which are already a bit wonky in the corners). Normal camera lenses are not designed to capture point sources at infinity, so it’s always good practice to reduce their aperture a bit. I ended up capturing 157 single exposures but only used 83 for stacking. Why?
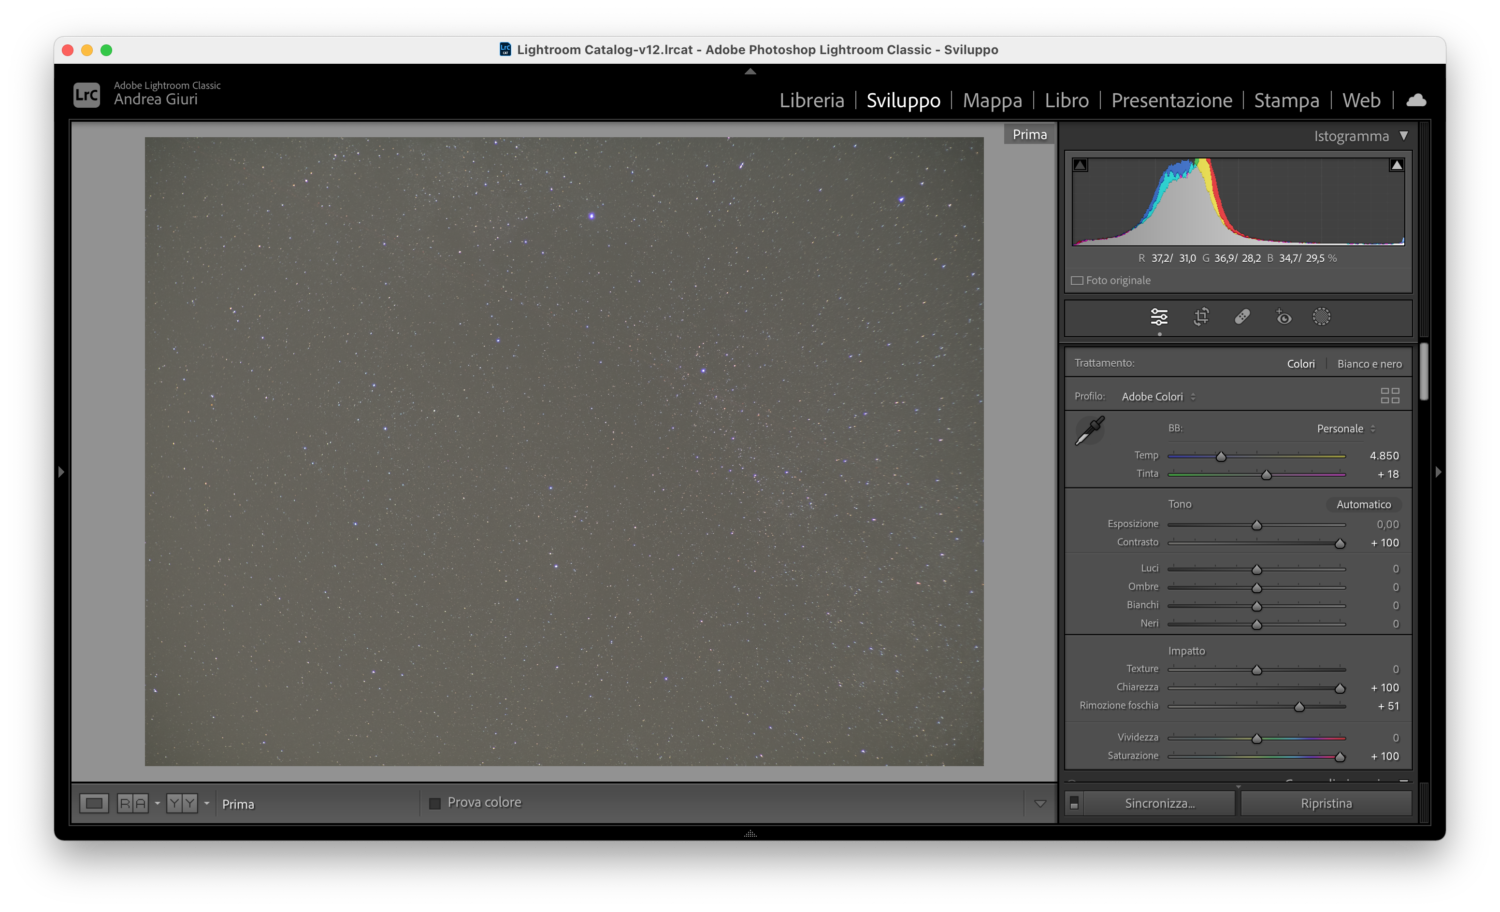
I did start shooting when Cygnus was low in the sky, so let’s compare the first and last images taken that night, with the same edits applied on Lightroom (+100 contrast, +100 clarity, +51 dehaze, +100 saturation). Note that these adjustments are only used for preview, not for actual processing. Without them, the raw image would be completely flat.
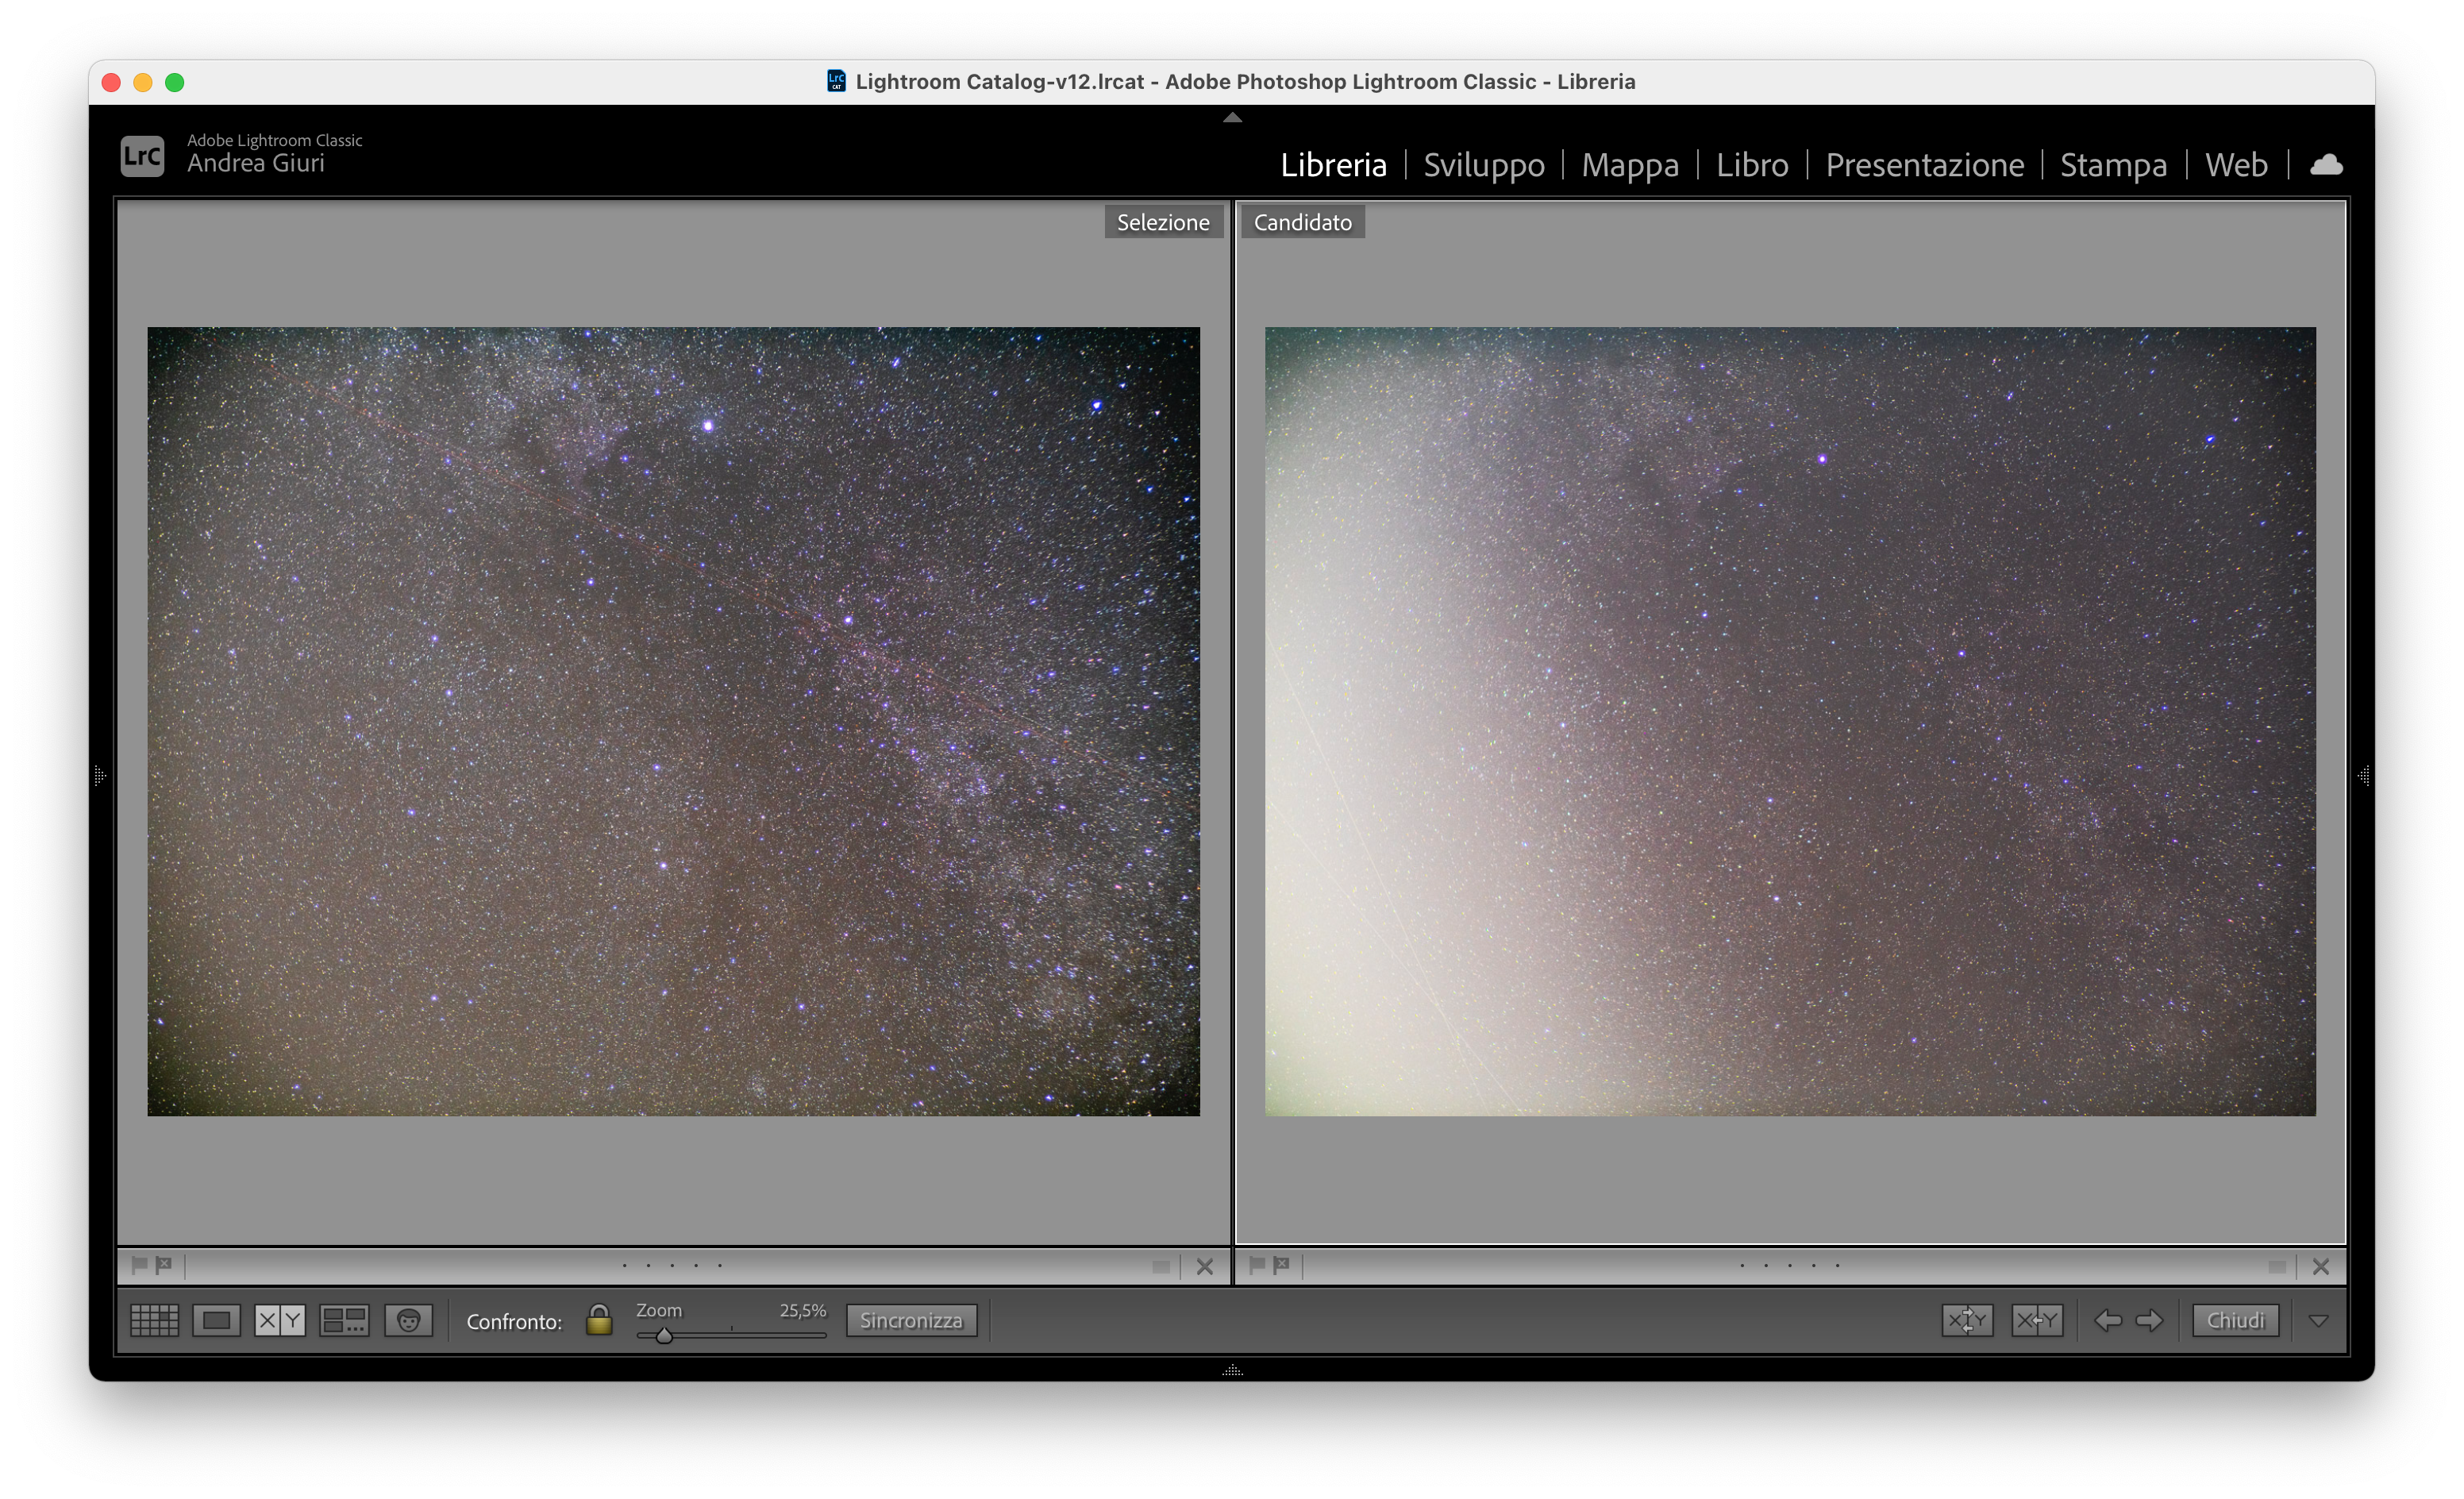
It’s not hard to guess which is which. In the image on the left, taken when Cygnus was almost at the zenith, the stars and nebulosity were rendered much more clearly. The main issue, however, is the massive white halo captured in the image on the right, and you’ll see why in a second.
Pre-Processing
I stacked the light, dark, and flat frames in DeepSkyStacker and moved on to SiriL. After background neutralization, the image looks like this.
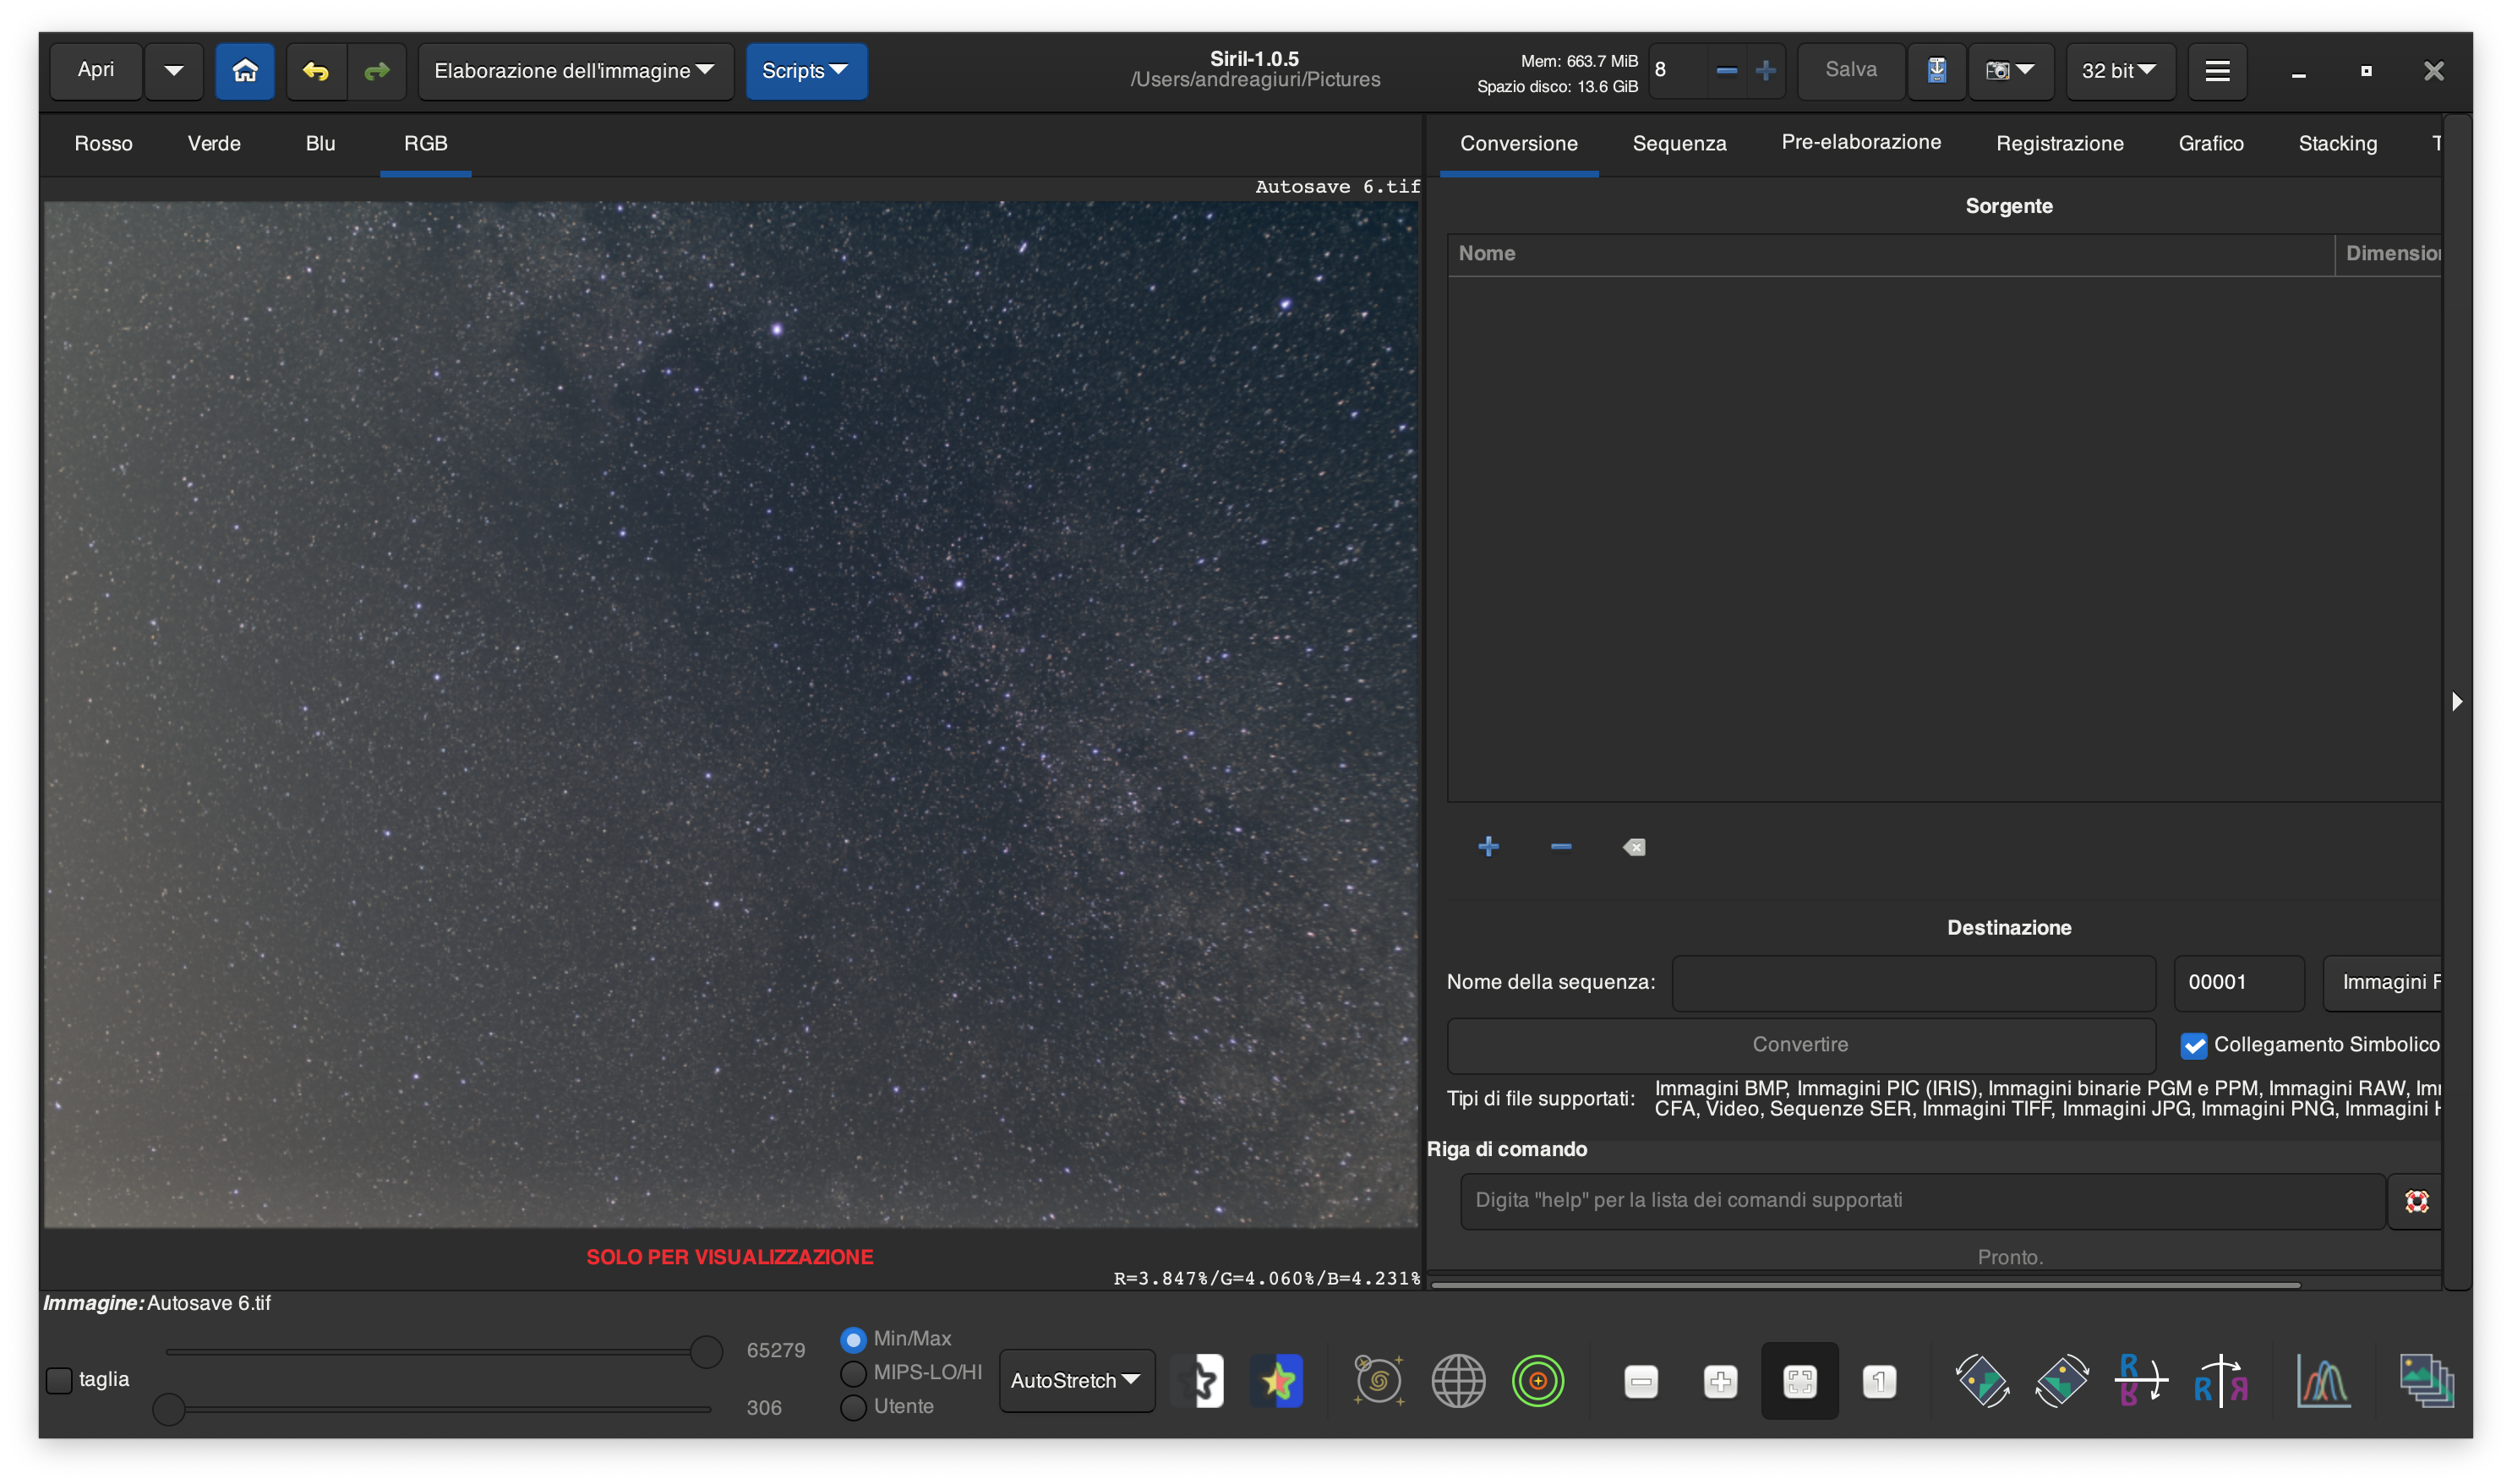
You can see that the sky is not exactly uniform, so I moved on to the background extraction tool. This tool samples a grid of points in the image to create a synthetic background approximating the one in the original photo. Subtracting this “fake” background from the original image results in a (theoretically) uniform black sky. There are different methods to compute the synthetic background, some more precise than others.
However, in this image, not only does the nebulosity cover the entire frame, but it also blends in quite well with the background itself, even too well. Therefore, while I have an idea of what the image should look like, the computer doesn’t and may confuse the nebulosity for an imperfection, suppressing it.
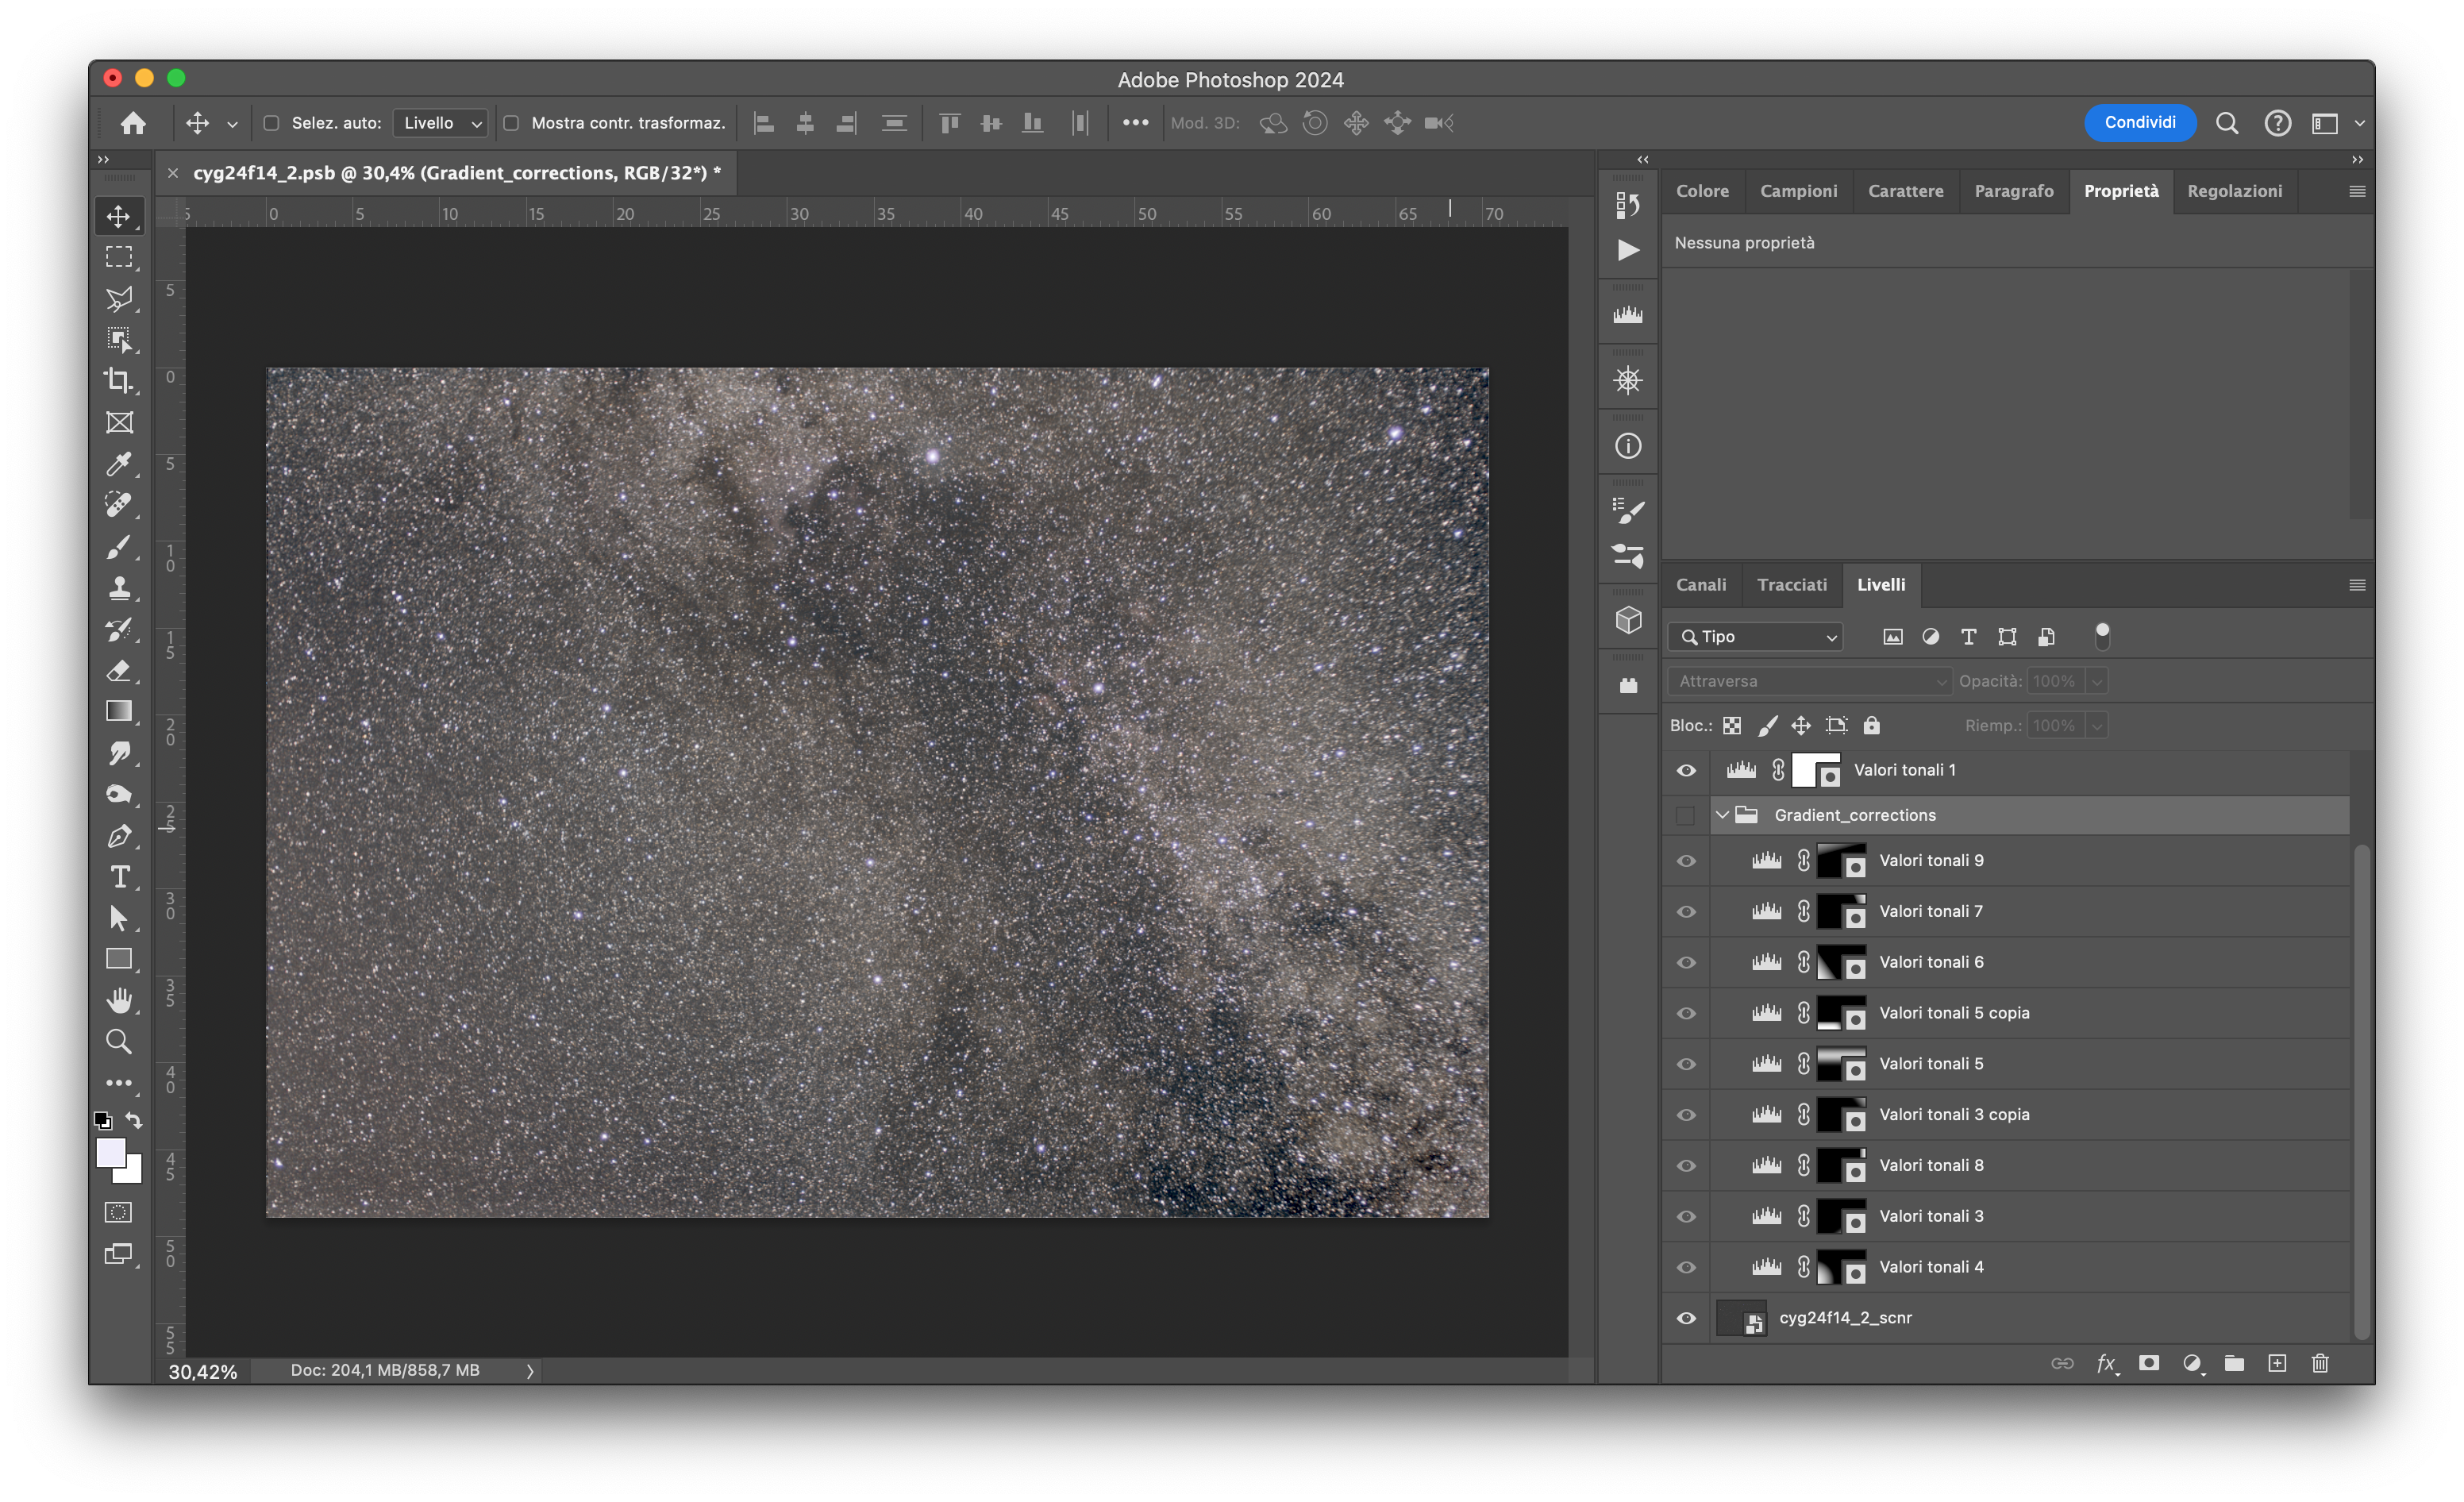
I ended up using a low-degree approximation, running SCNR, and manually correcting the residual issues in Photoshop until I was satisfied.
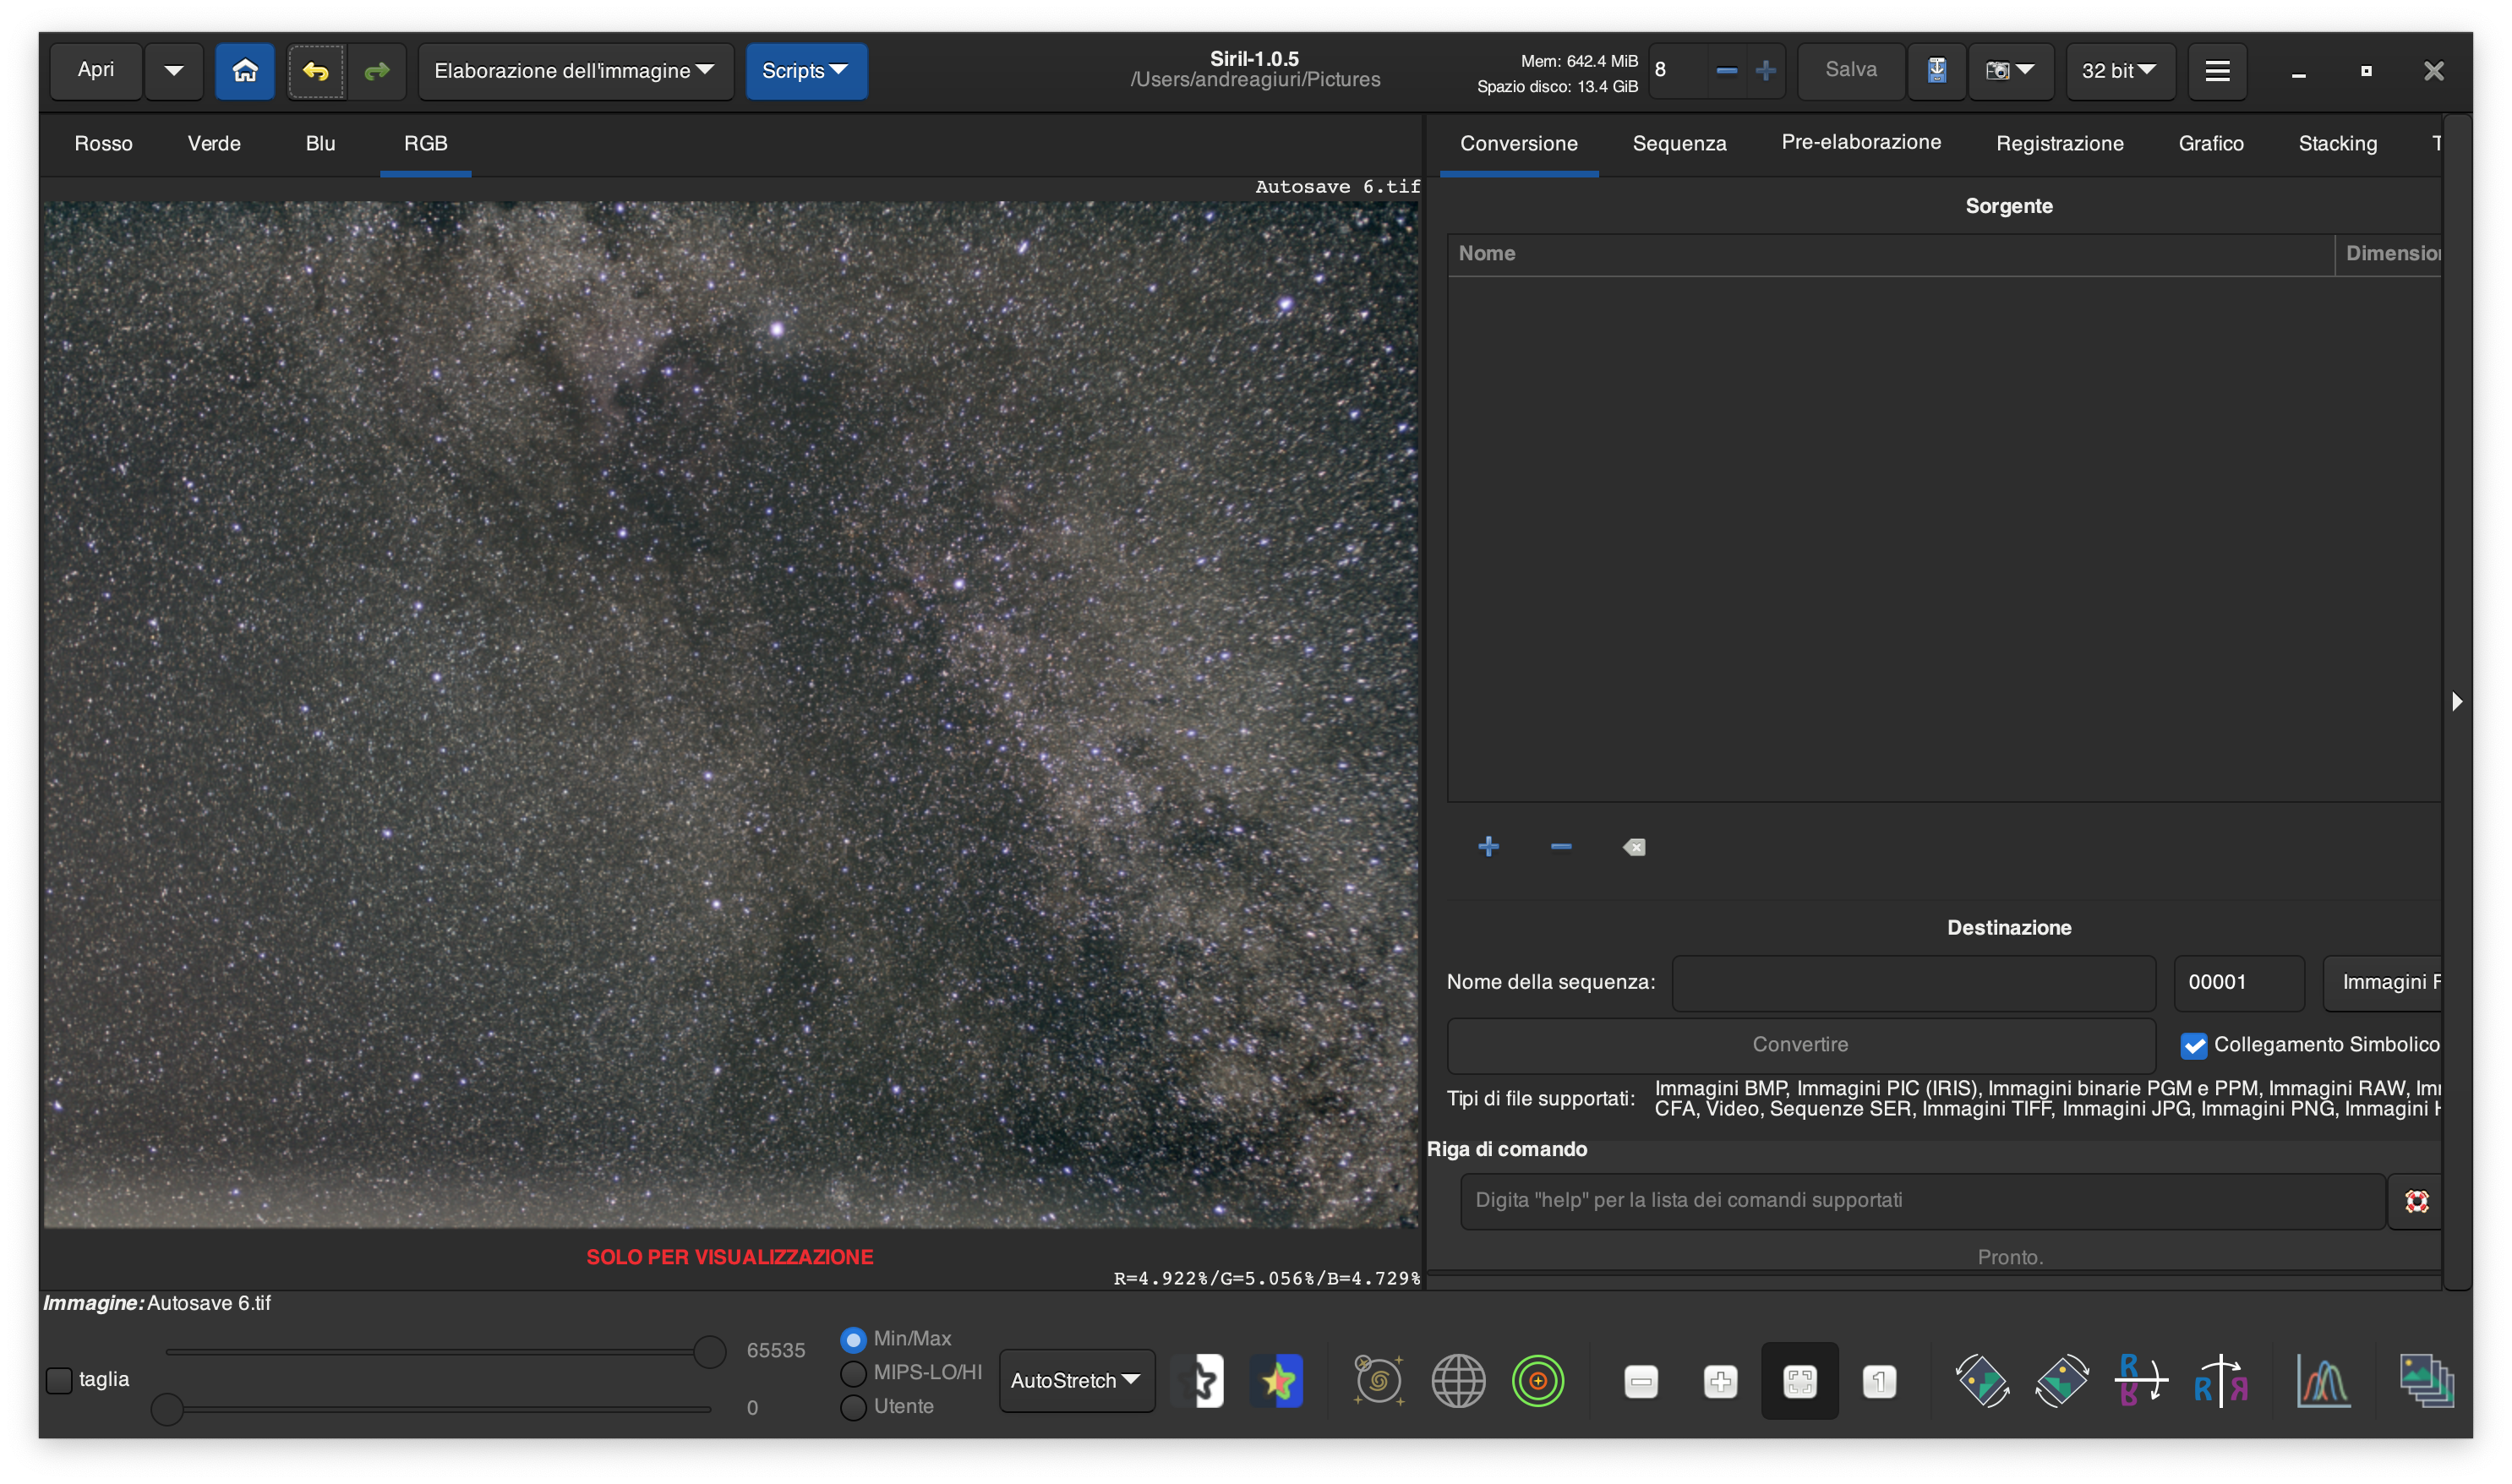
This explains why I had to use only 83 images. I tried stacking more of them, but the halos were impossible to remove, even manually. I hoped that the effect of light pollution near the horizon would be less noticeable, but no luck this time.
Processing
Now that the background is nice and uniform, it’s time to handle the stars. Despite the focus being spot-on, they were pretty big and distracting. I used a combination of the Photoshop “Minimum” filter and StarNet++, which are used to reduce the stars’ size and completely remove them respectively.
I used one more trick to make the gas clouds pop. I created a layer containing the Red channel with around 50% opacity and “Luminance” blend mode. This helped further increase the brightness of the red emission nebulosity.
After that, I used a combination of adjustment layers and Camera Raw filter to manipulate the image to my liking.
Finally, I used a Selective Color adjustment to reduce the blue glare around the brightest stars and further enhance the color of emission nebulosity. In fact, it often appears purple-ish instead of red, as my camera is not modified to capture hydrogen light, so I try to correct this effect.
Conclusion
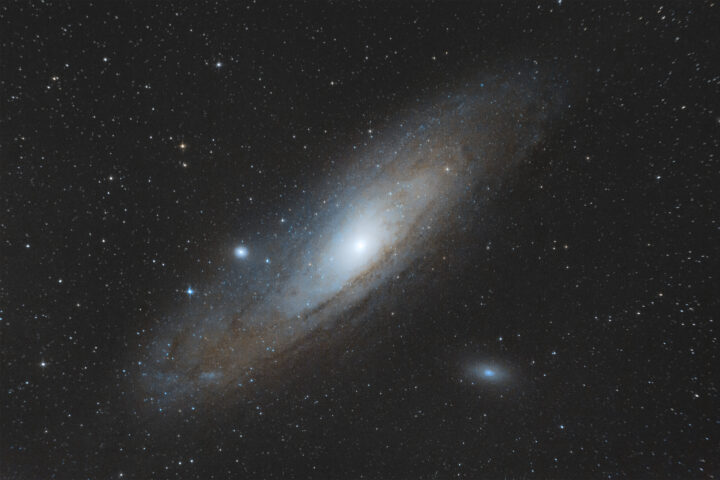
Taking up astrophotography again was great. I’m currently working on some improvements for the setup and hope to be back soon with new articles and images. I’m actually pretty impressed by the fact that there are hints of the Veil Nebula in this image. Here is a crop of my photo next to a survey image.
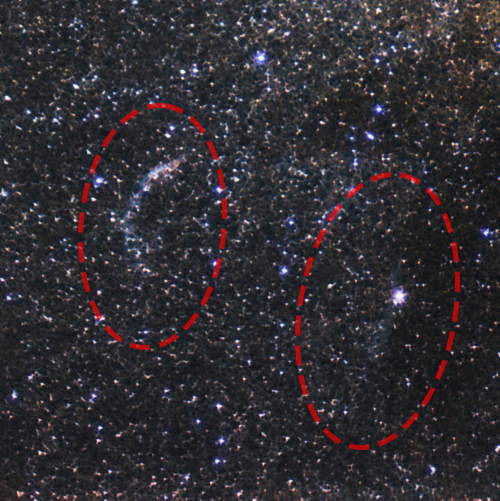
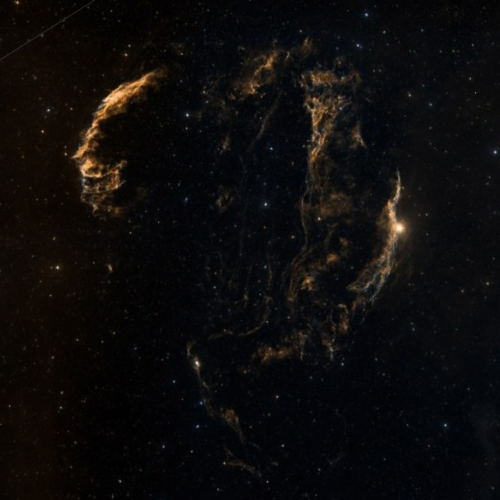
The Eastern Veil (on the left) appears to be brighter and I can see red patches of Hα emission at the top. It may be a promising subject for my next image, who knows!
I hope you enjoyed reading this article and found it useful, whether you discovered new tips and tricks for your images or simply gained inspiration!
Clear skies!
